

Kyle Rankin @kyle@librem.one
- Personal Site
- https://kylerank.in
- Personal Bibliography
- https://kylerank.in/writing.html
Admin
Technical author, FOSS advocate, public speaker, Linux security & infrastructure geek, author of The Best of Hack and /: Linux Admin Crash Course, Linux Hardening in Hostile Networks and many other books, ex-Linux Journal columnist.
Joined Apr 2019
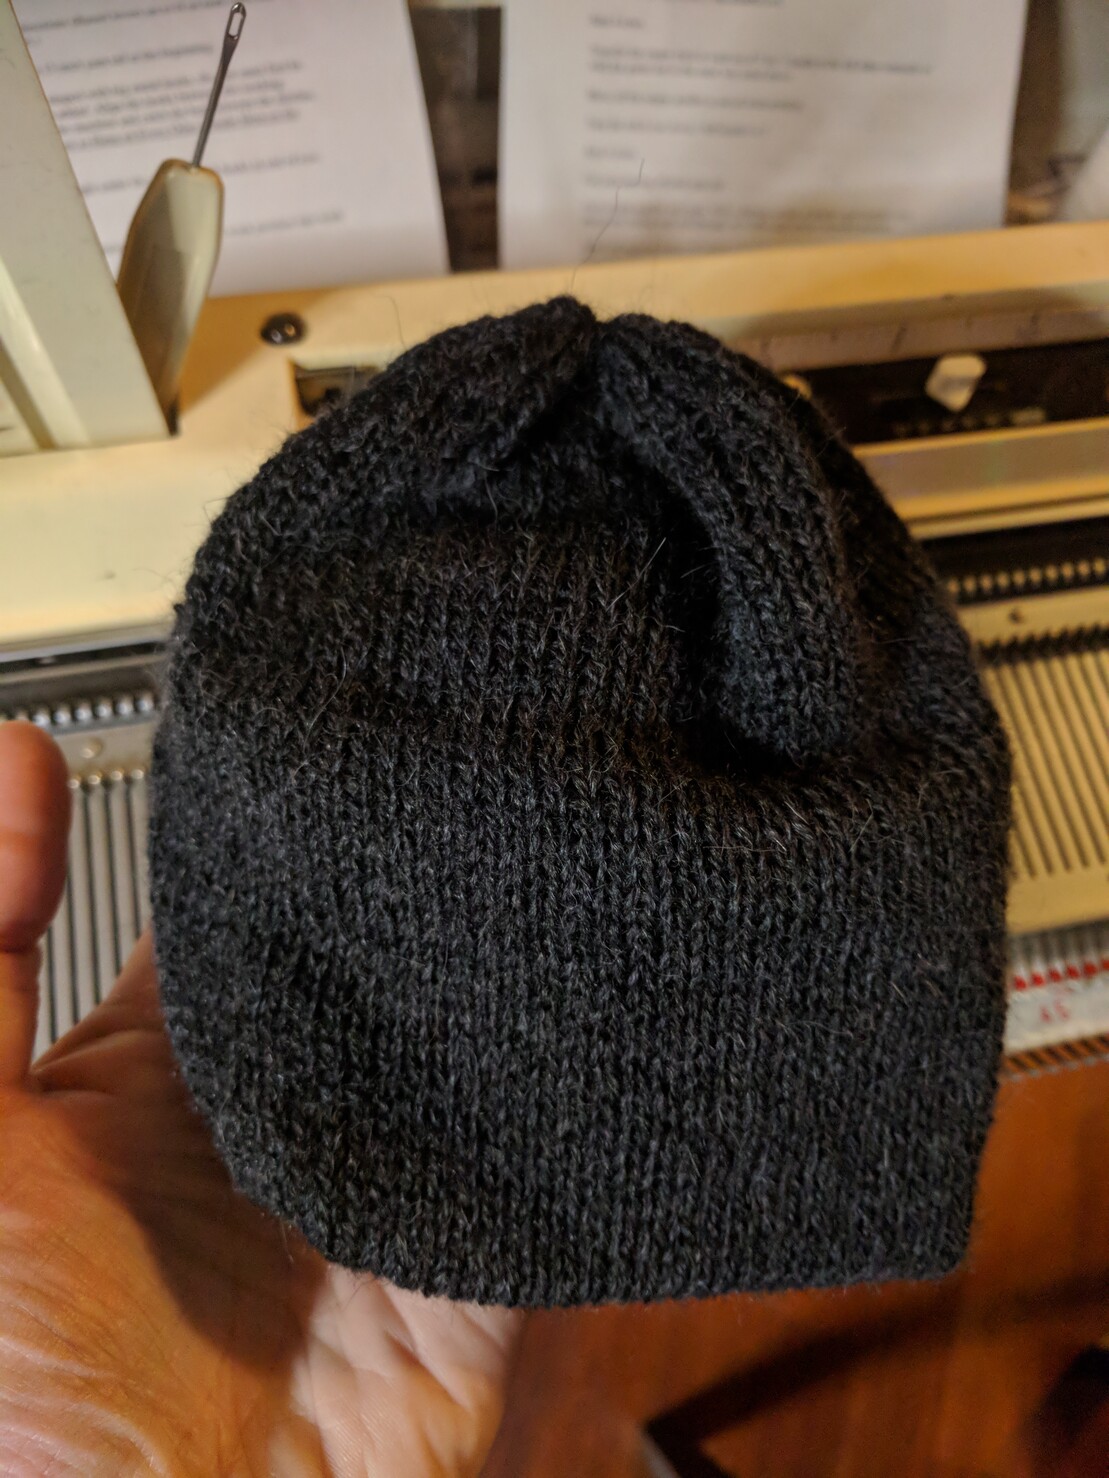
I have knitted a hat! ...for a baby?
So I suspected this might happen because the pattern called for thicker yarn than I chose to use, with fewer stitches/inch. I wanted to follow the instructions anyway just so I understood the process and outcome before I started making modifications. While I really like this wool for a hat I'd wear, I do think it's a bit too fine for my first knitting project. #knitting #machineknitting
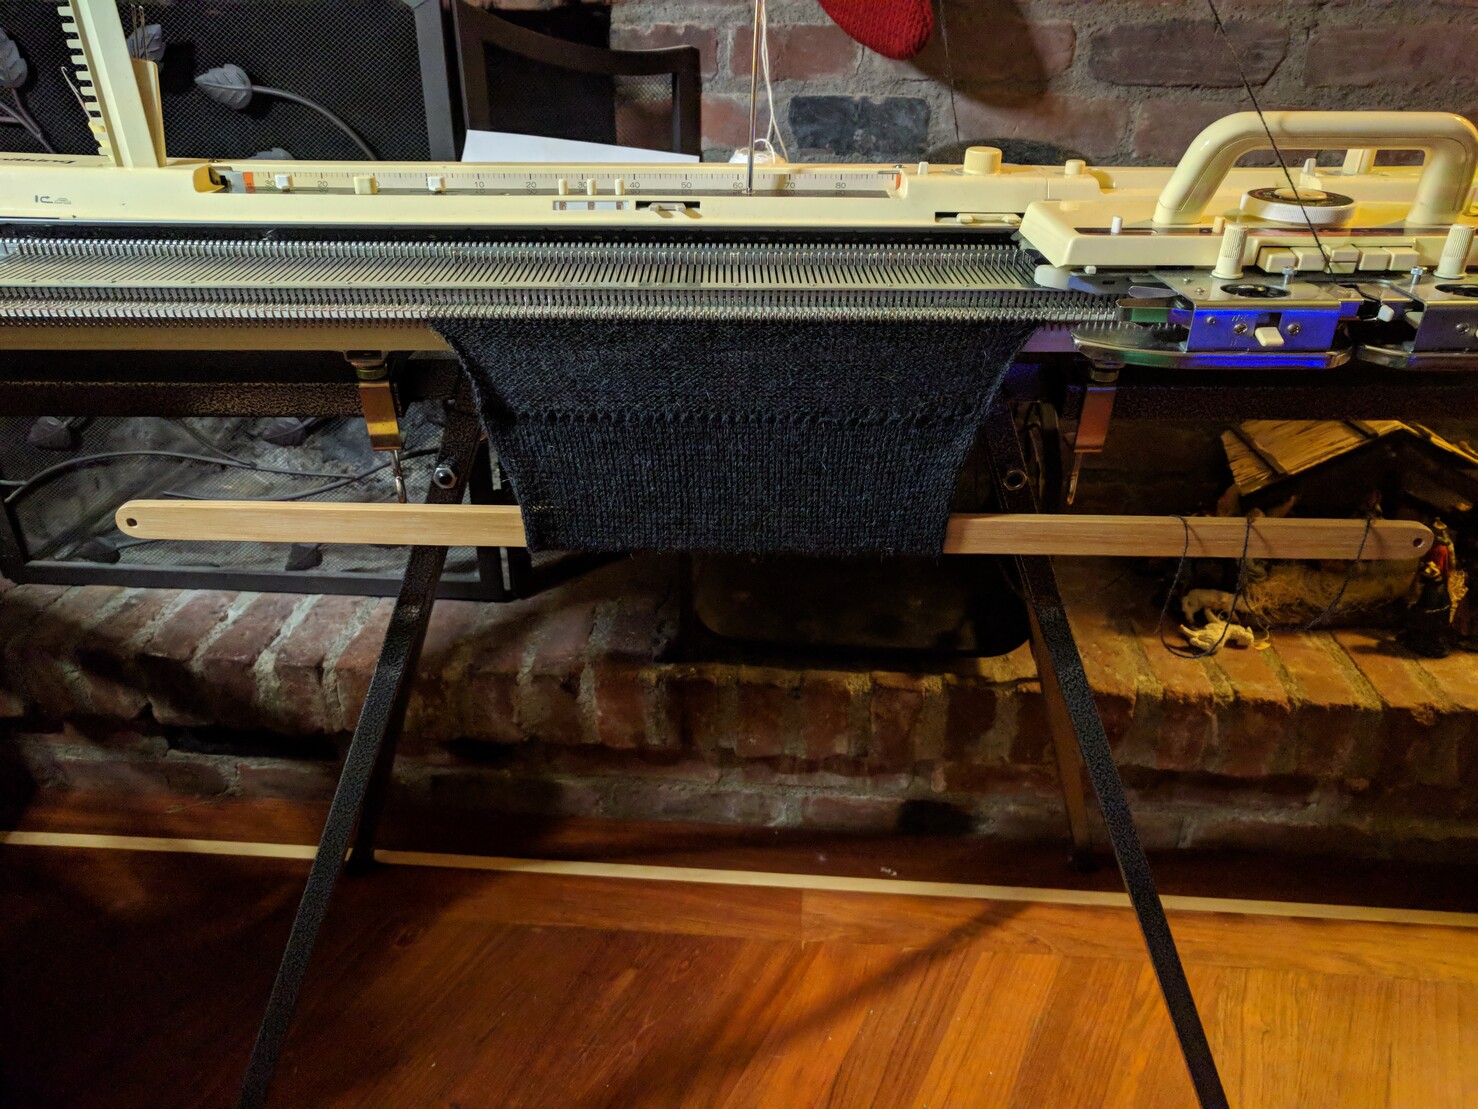
The knitting has begun! This is attempt number eight or so at a simple wool hat. The previous attempts uncovered a problematic hook that meant undoing and unraveling all of my work and starting over until I discovered the source and fix for the problem. Learning a lot! #knitting #machineknitting
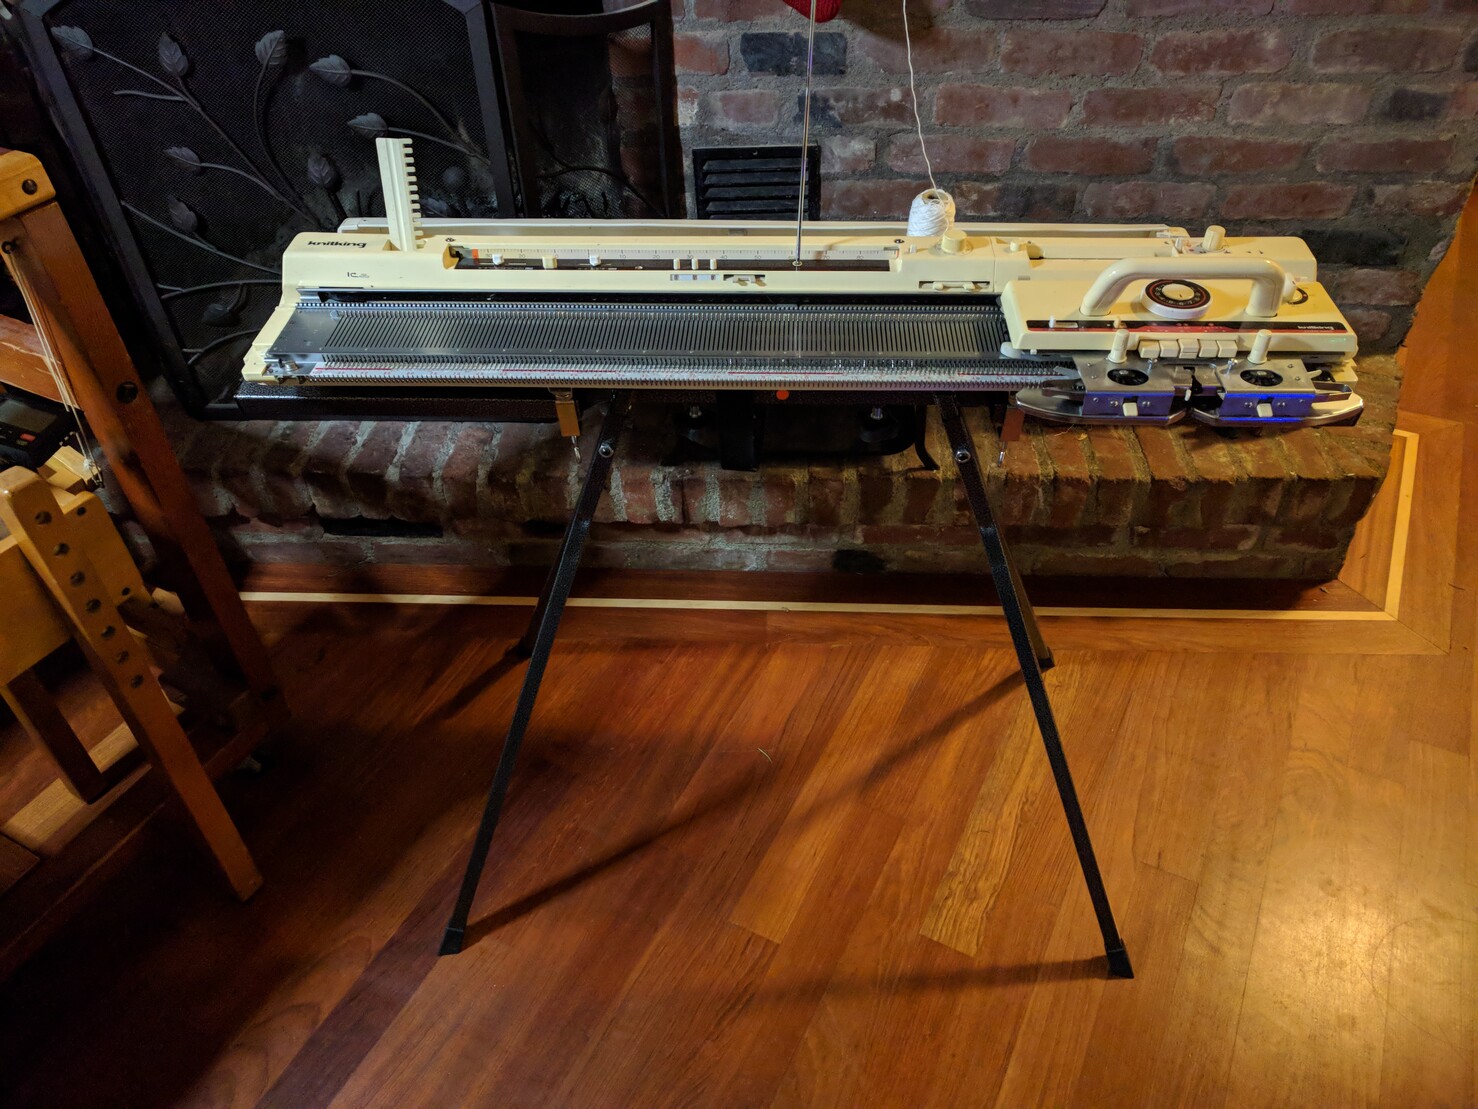
The Knitking KK93 knitting machine is set up and I've done a few sample rows. Everything seems to work, so I think the next step is to pick a simple knitting machine project and make it. It will probably be awhile before I advance to programming it with its punch cards. #knitting #machineknitting
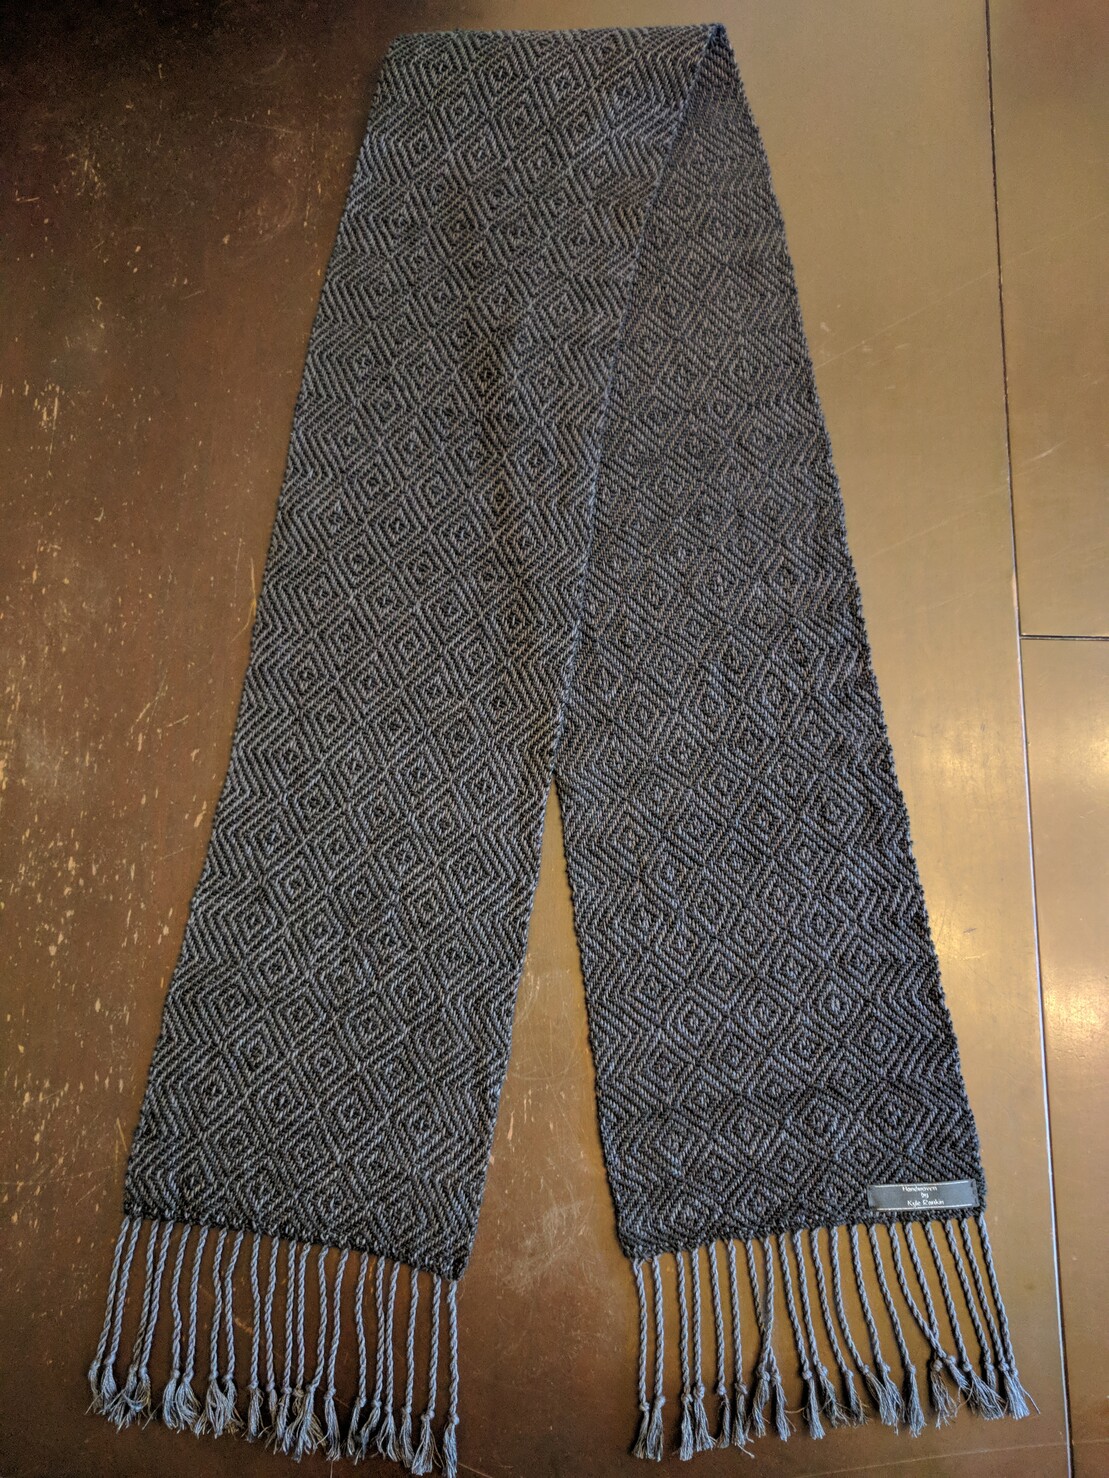
I finished the scarf this weekend! I'm really pleased with how it turned out, to the point that I think I want to make another for myself (this one is a gift). #weaving
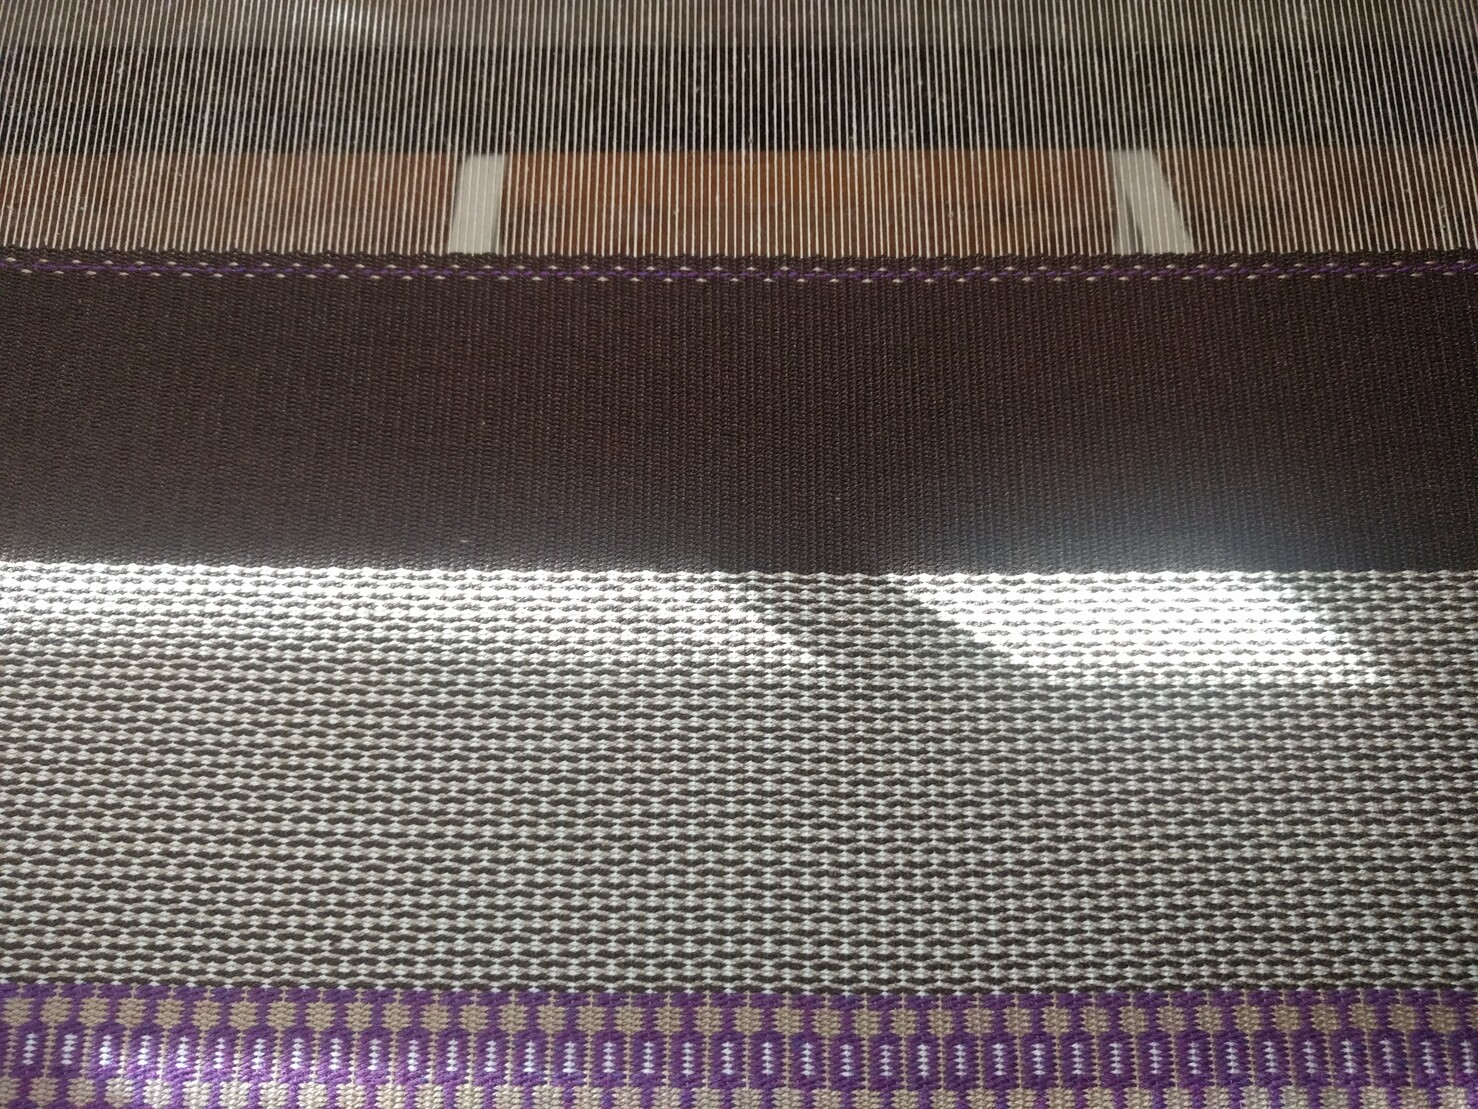
You can see the pattern emerge on this fabric very quickly. Here is the first few inches of the scarf. Instead of just repeating the pattern throughout the full width, I extended the pattern on each edge to give it a one inch border on each side to frame the central pattern. #weaving
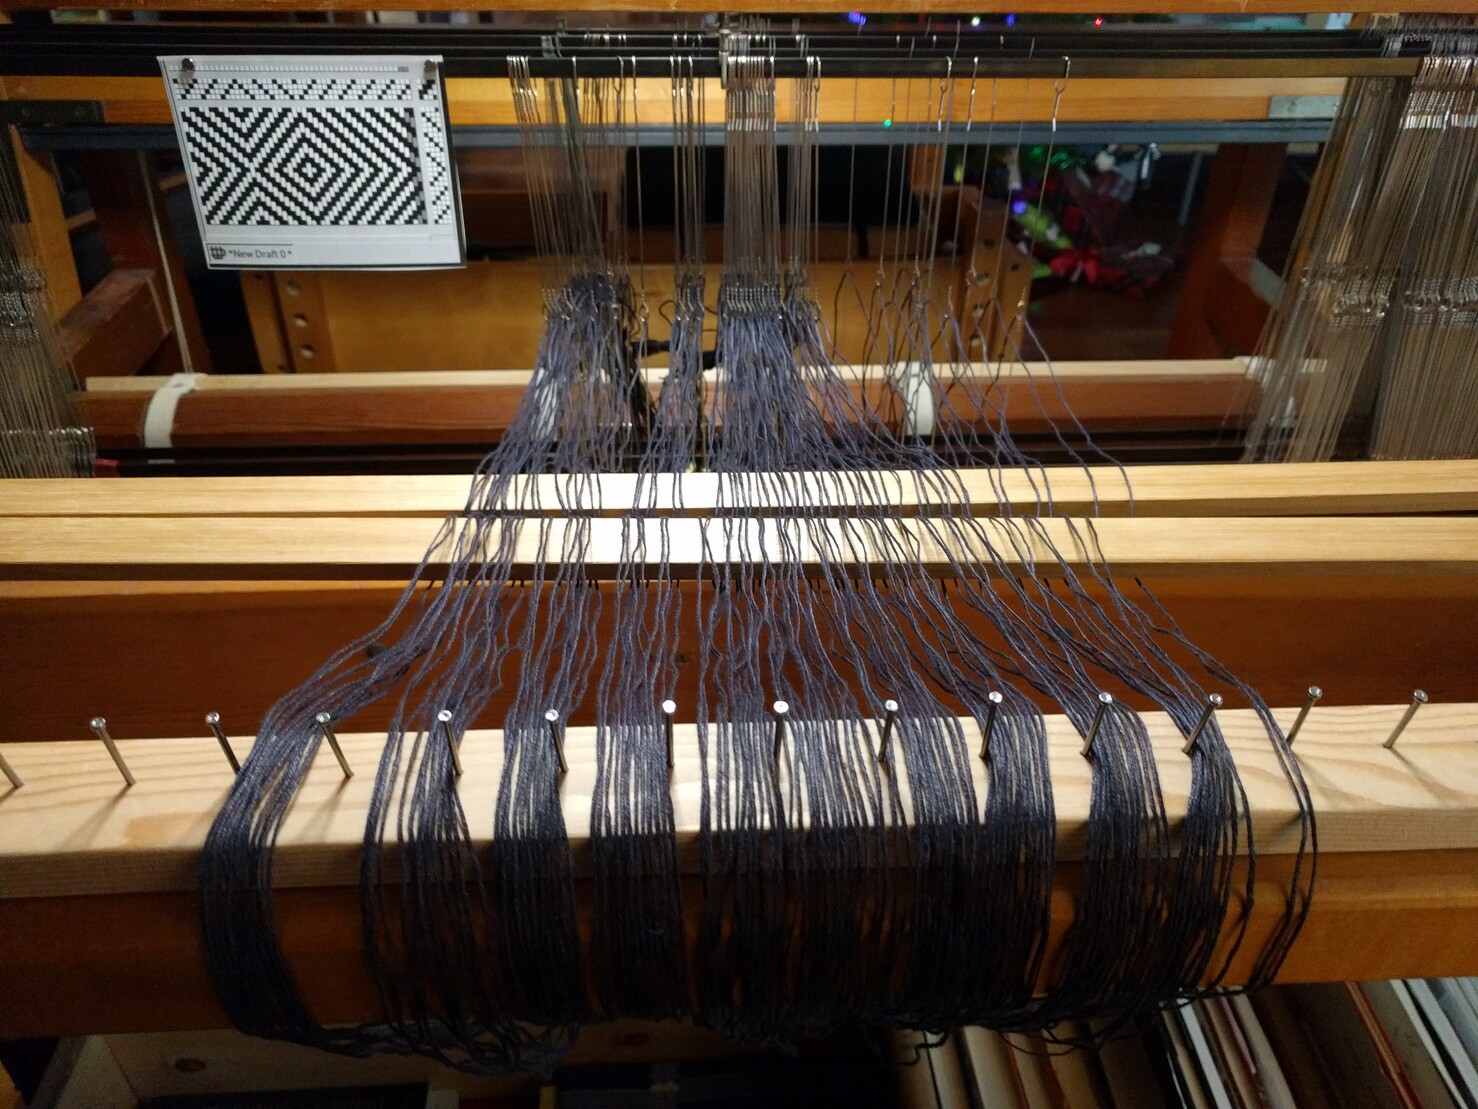
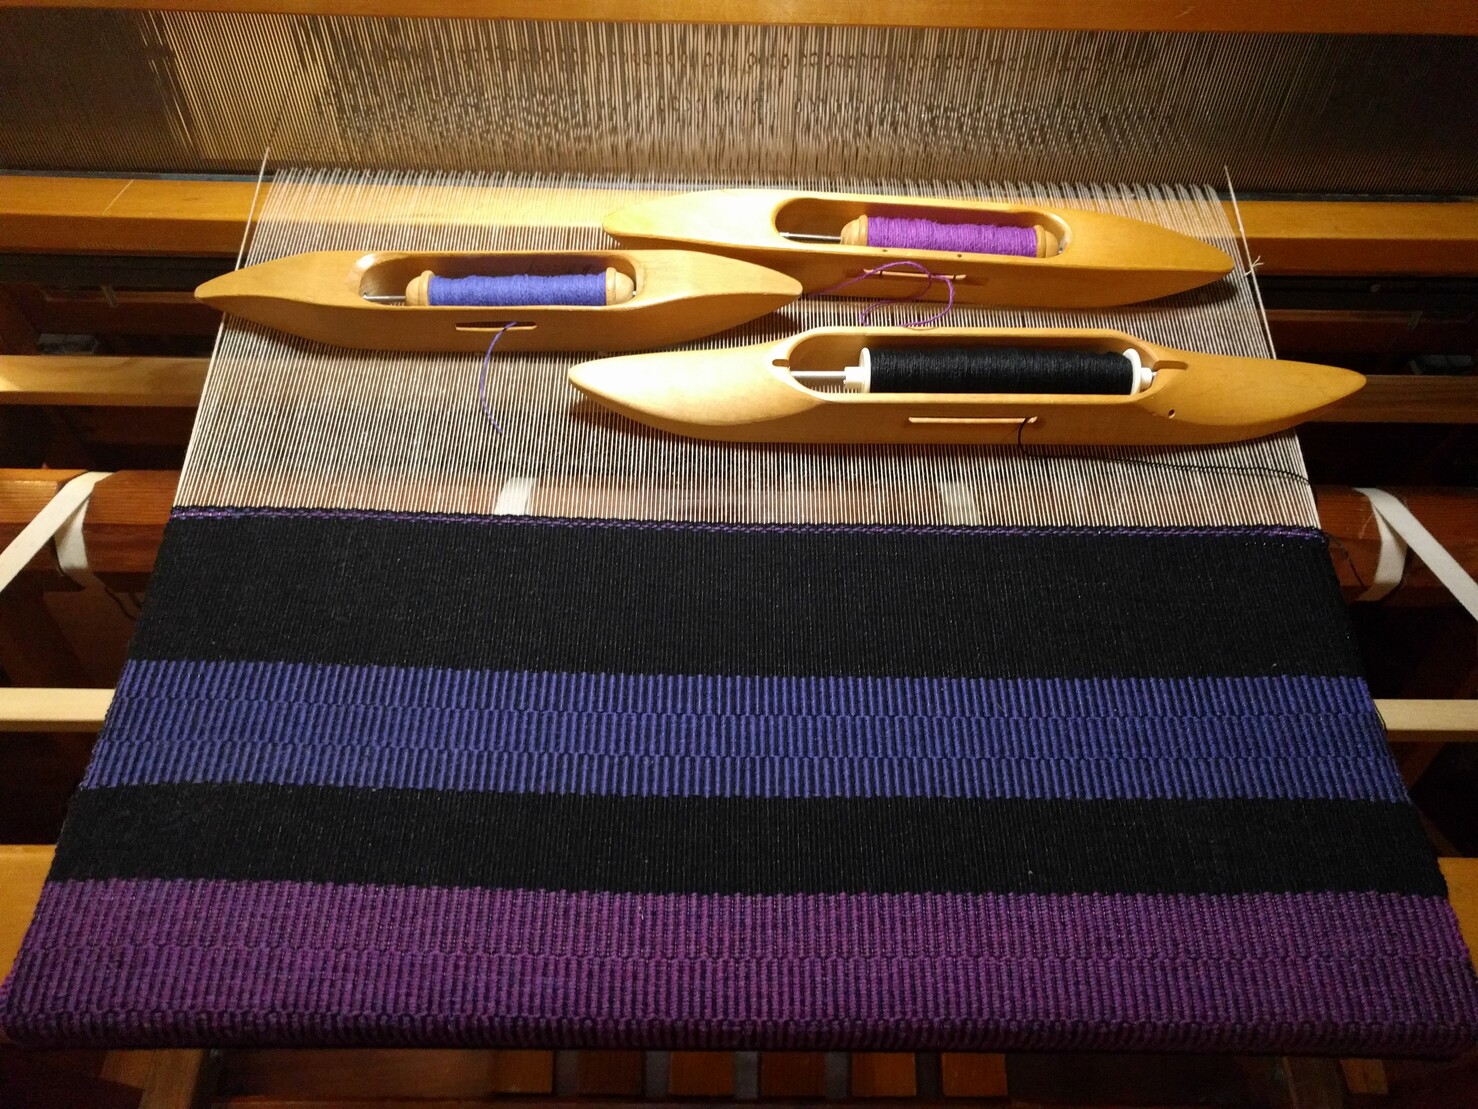
In the warp zone again. This time I'm making a black linen (warp) and black wool (weft) scarf. I'm using a standard "Ms and Ws" point draft twill pattern from Handweaver's Pattern Directory pg 90. #weaving
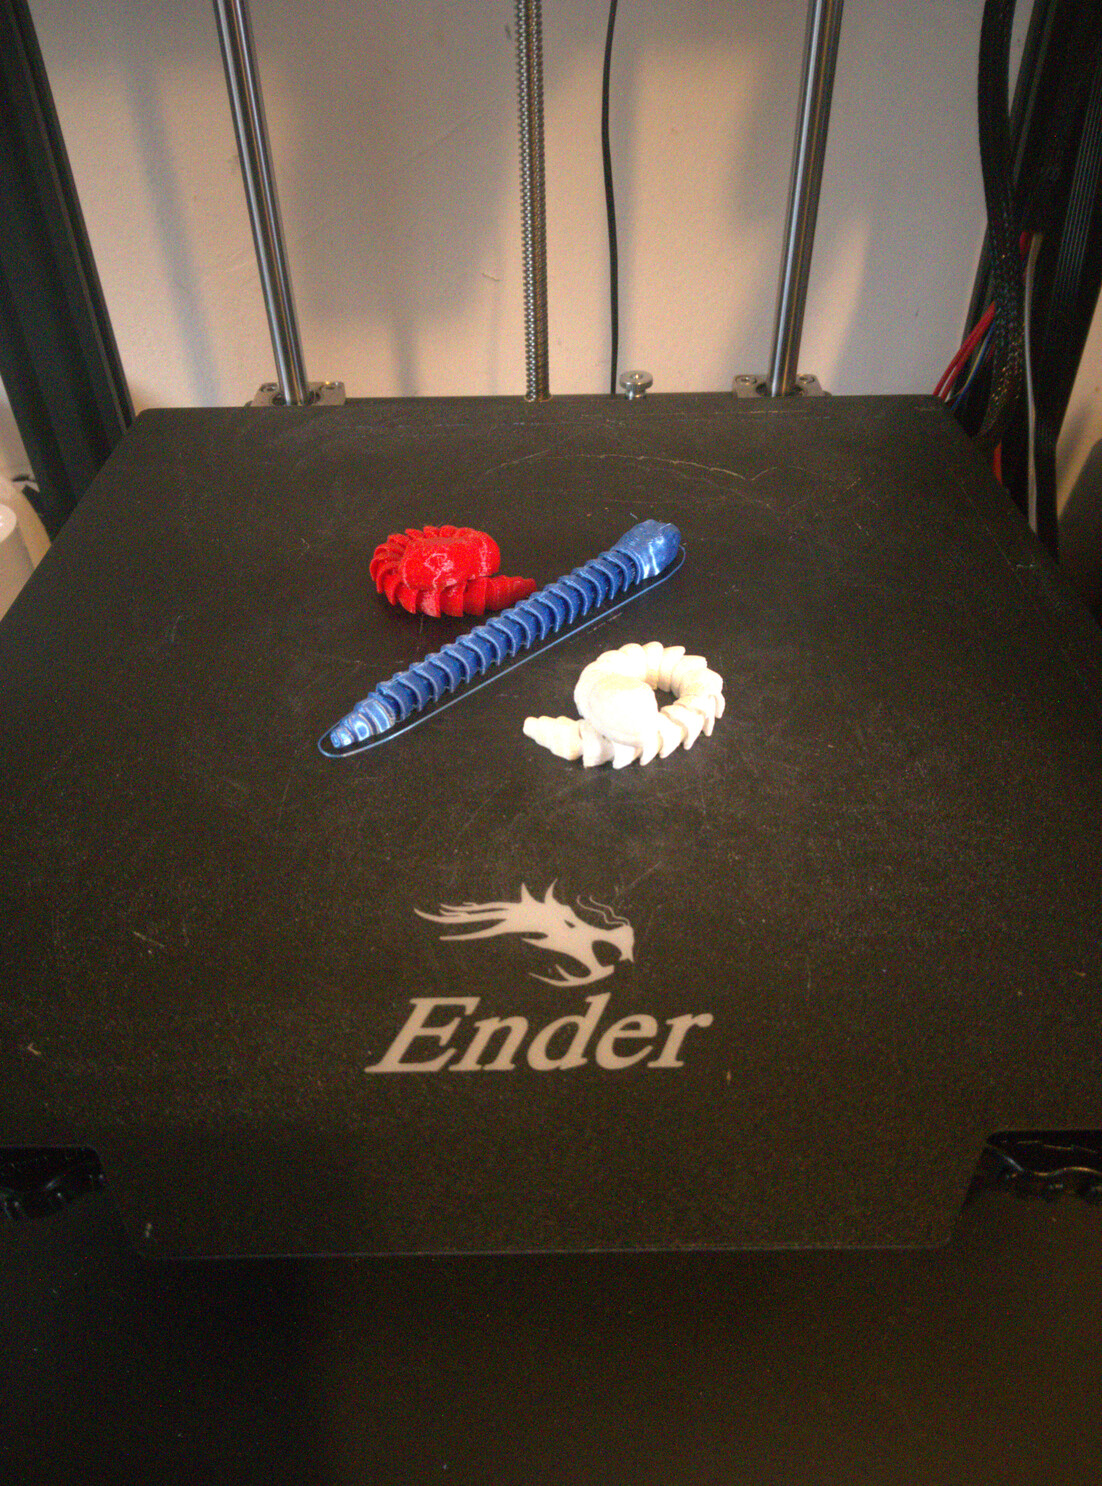
My 3D printer has been busy making things small enough to fit in my son's advent calendar. For starters I went with tiny articulated snakes. #3dprinting
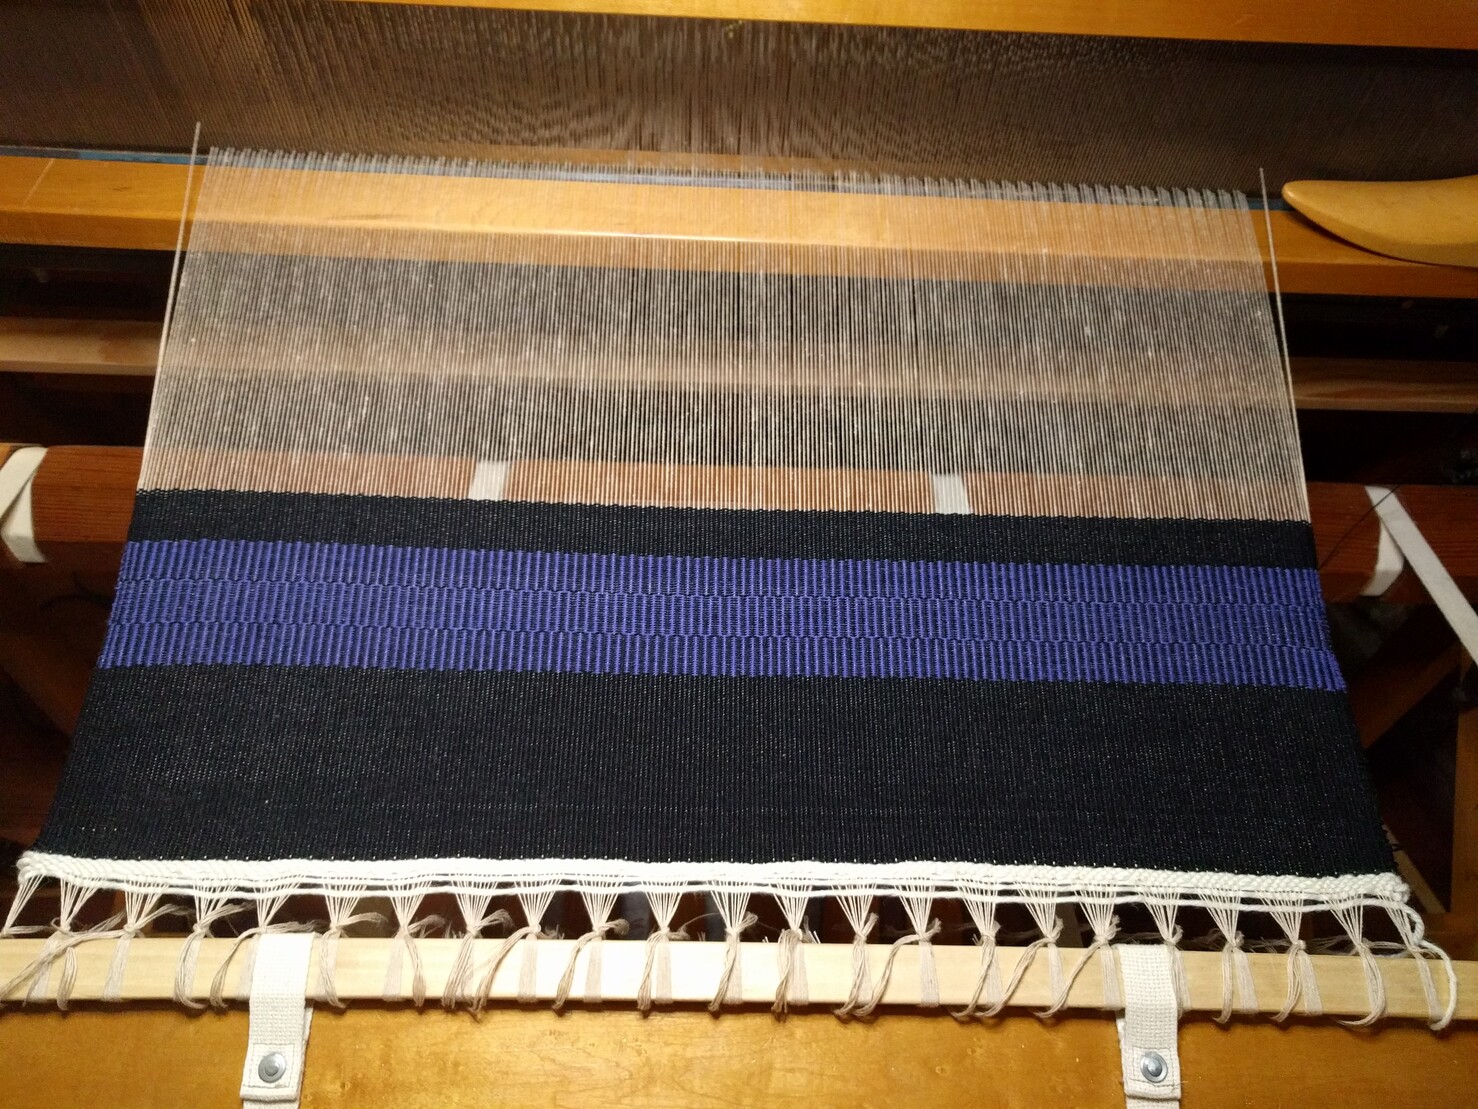
The final tote fabric is done! This makes four different totes I was able to make from the same warp. This fabric I'm going to set aside and make into a tote some time after I'm done with the rest of my holiday projects. I'm definitely ready to start on something else. Next up: twill patterned scarf. #weaving
Project use-up-the-rest-of-this-warp is well under way. I decided to weave enough fabric for another tote so the warp doesn't go to waste and this time I'm going with a color scheme inspired by leaves (brown, green, orange and red). I don't have any plans for this tote so I'm actually just going to weave the fabric and then set it aside so I can get to the other weaving projects in my queue. #weaving
My tote is done! This one went quite a bit faster than the previous ones (16 hrs start to finish), and the basic leather punch kit I bought was well worth it. I'm really pleased with how the color combination worked out, it made the tote a cool-toned version of the original warm-toned tote (also pictured).
Over a year ago I got this antique porcelin shaving mug, but only recently started using it (I had to use up my other soap first). Most mugs I've seen have a single bowl you put soap in and lather from.
What is pretty unique about this mug is that it has a lower bowl you can fill with hot water and soak your brush, and an upper bowl for your shaving soap. Before this, I had been soaking my brush in a separate container.
While I didn't get to weave as much as I wanted this weekend, I was still able to get halfway through the fabric for the new tote. Here's the progress after 4 hours. #weaving
I'm getting faster! With this new project I really got into a nice rhythm. As a result after two hours of work (30 mins of that to tie the warp back on) I went from a loose warp to about 7 inches of fabric. #weaving
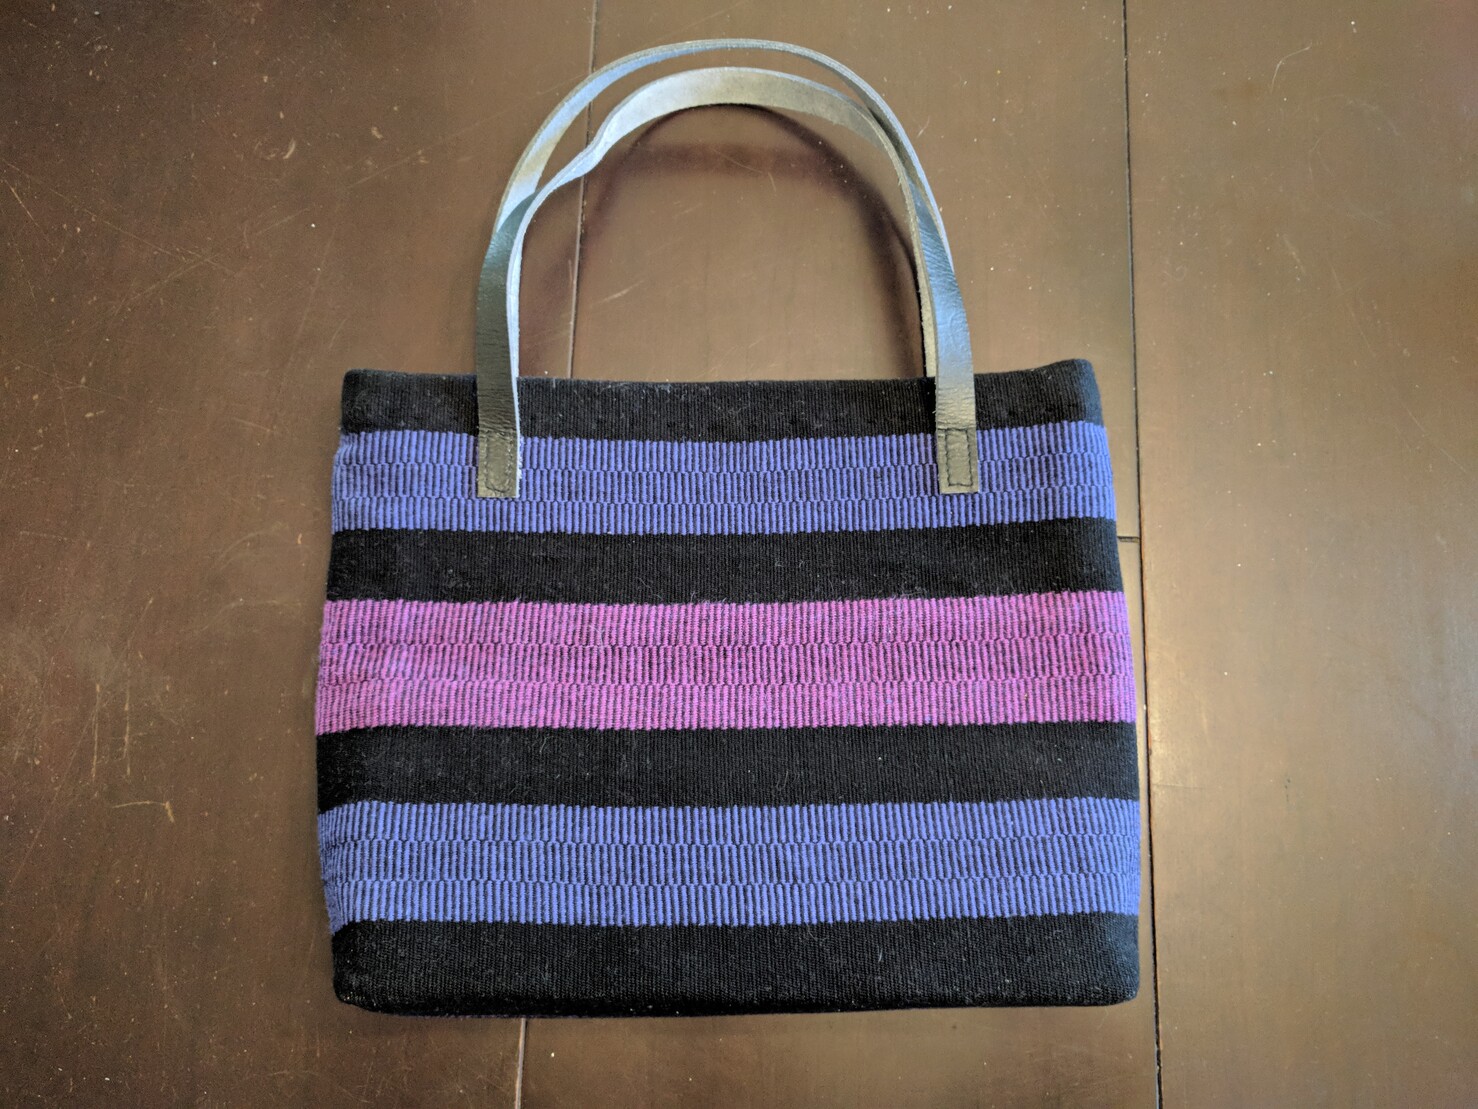
My handwoven tote bag is done! I wasn't sure whether my plan for the tweed background and purple krokbragd pattern stripe would work but I'm really happy how it turned out.
This time I used raw leather strips for the handles which meant an extra hour punching holes in leather. Like my previous tote this is lined and has interfacing so it can stand up on its own. #weaving
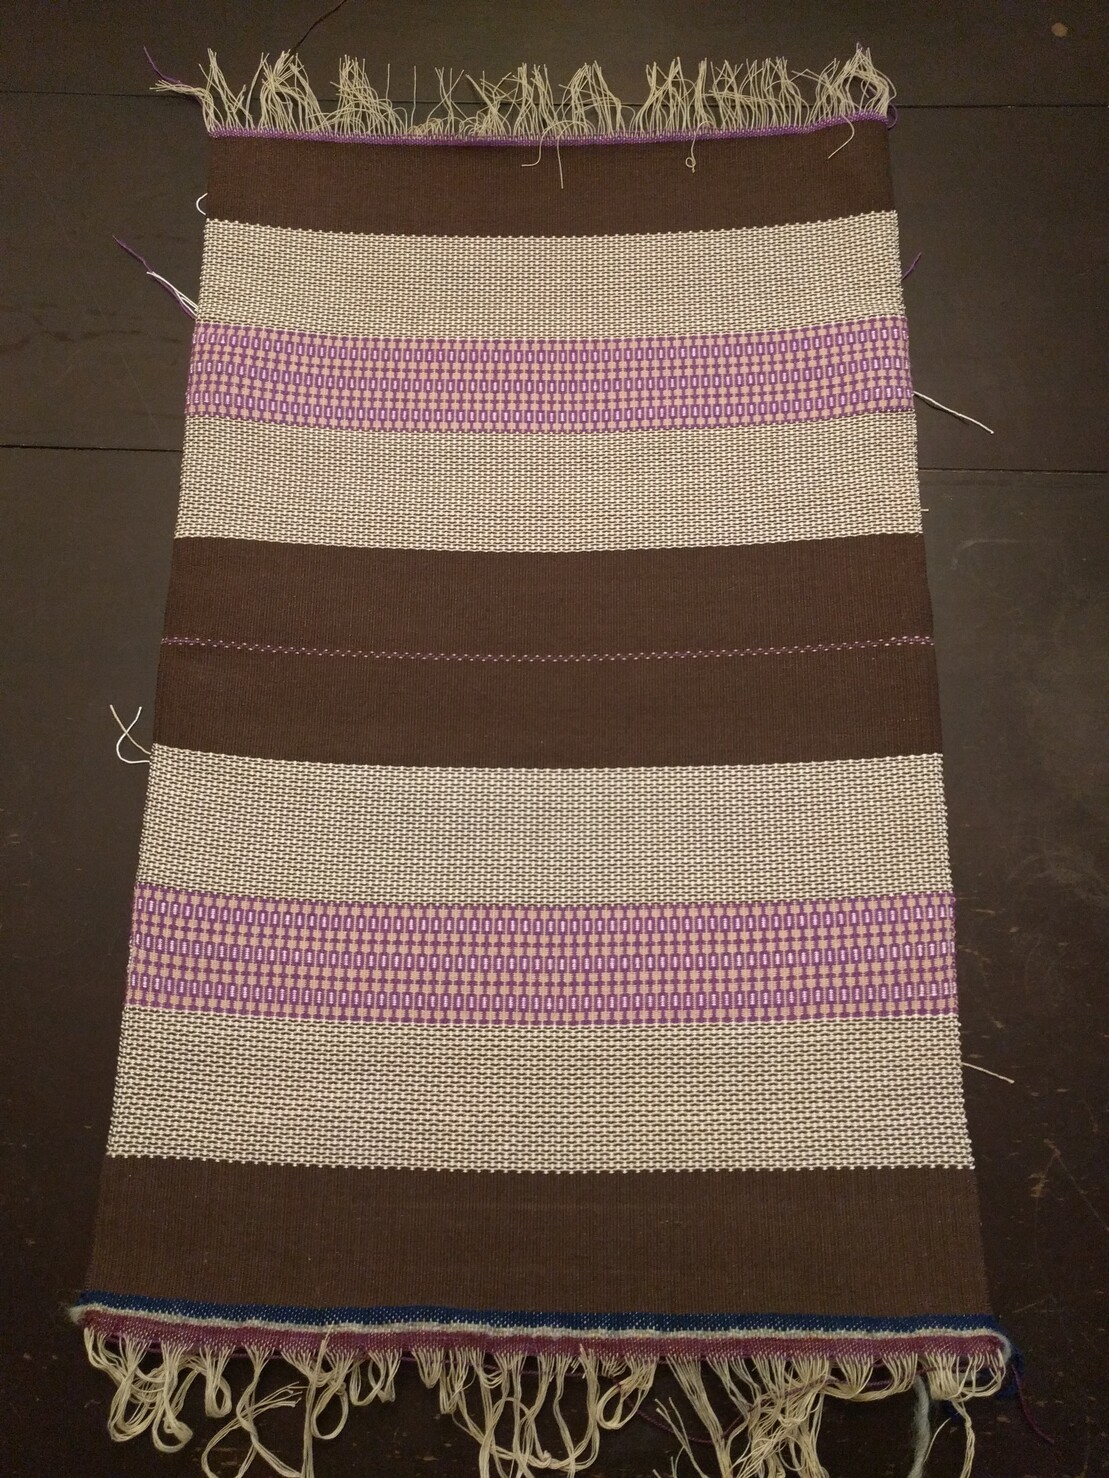
Here is the fabric off the loom. The brown portion in the center will be the bottom of the tote and the tweed-like pattern will be the background along the sides with the purple pattern forming a band around the center. It will be easier to visualize when it is sewn together. #weaving
I finished #weaving my tote! At the end I only had to weave a single color and the lack of shuttle changes let me settle into a nice steady rhythm.
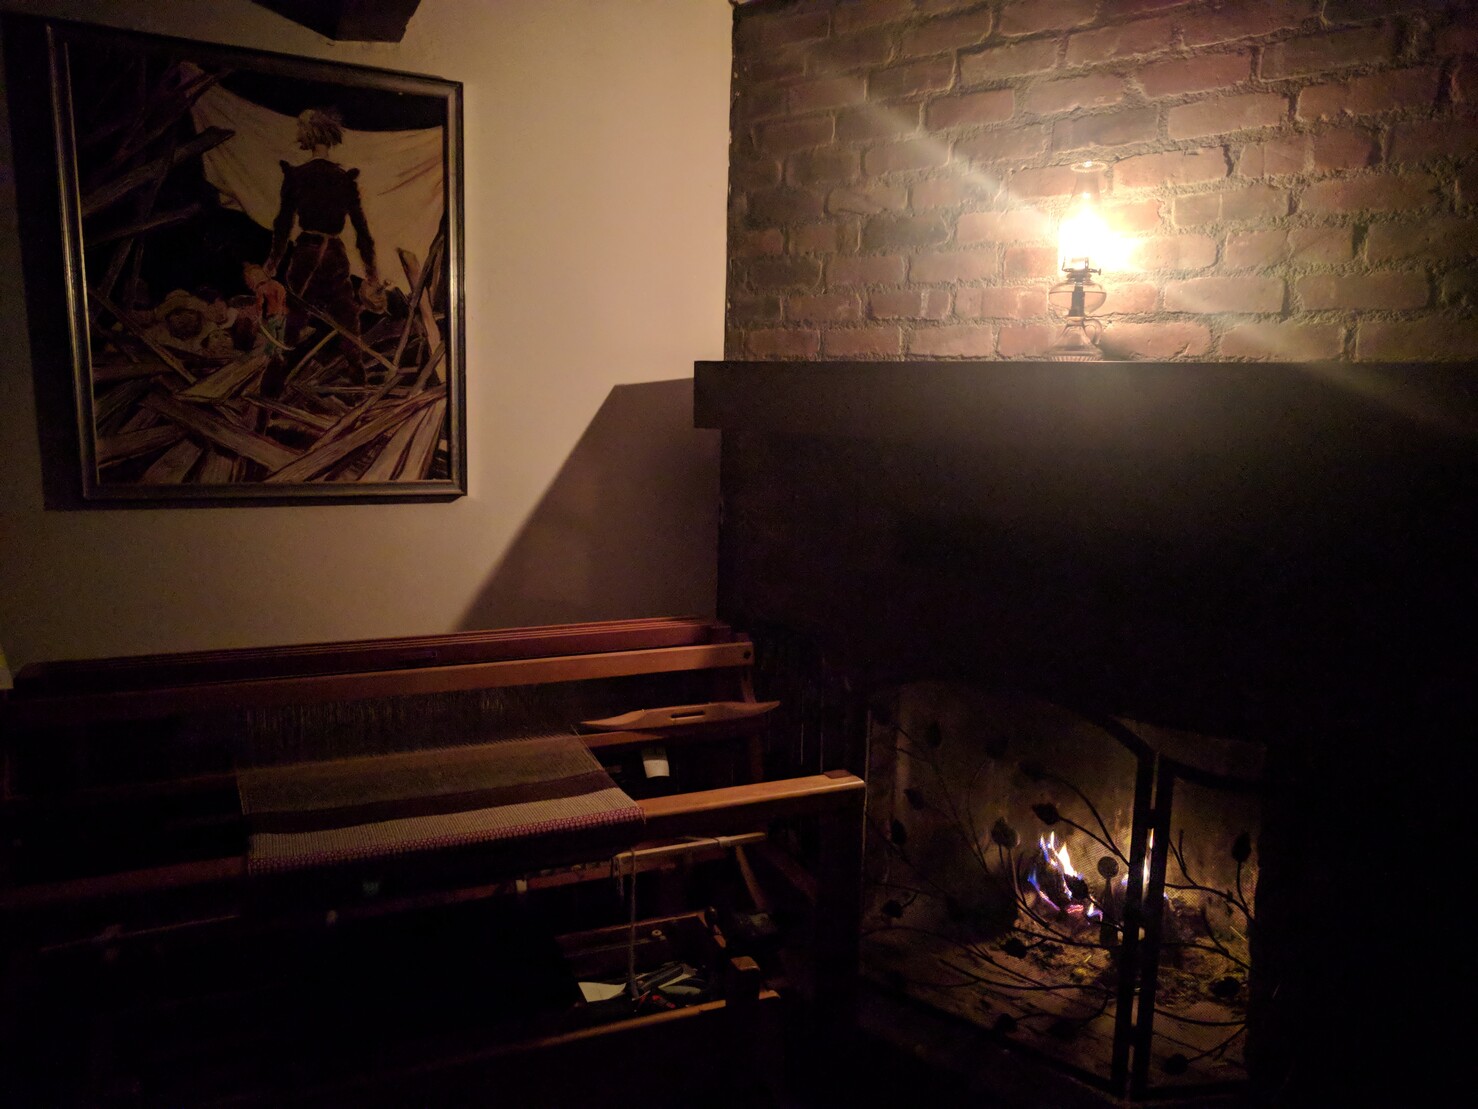
I installed a mantel over the fireplace today so we celebrated with the first fire of the season.
I've now hit the halfway point in #weaving this fabric for a tote bag. When I get to this point I add a series of colored stripes. This does two things:
* Adds a little surprise when someone looks at the bottom of the tote
* (More importantly) Marks the center line for the fabric so I have reference points to mirror the measurements on the second half, and also assists me when sewing up the tote later.
- Personal Site
- https://kylerank.in
- Personal Bibliography
- https://kylerank.in/writing.html
Admin
Technical author, FOSS advocate, public speaker, Linux security & infrastructure geek, author of The Best of Hack and /: Linux Admin Crash Course, Linux Hardening in Hostile Networks and many other books, ex-Linux Journal columnist.
Joined Apr 2019