
Kyle Rankin @kyle@librem.one
- Personal Site
- https://kylerank.in
- Personal Bibliography
- https://kylerank.in/writing.html
Admin
Technical author, FOSS advocate, public speaker, Linux security & infrastructure geek, author of The Best of Hack and /: Linux Admin Crash Course, Linux Hardening in Hostile Networks and many other books, ex-Linux Journal columnist.
Joined Apr 2019
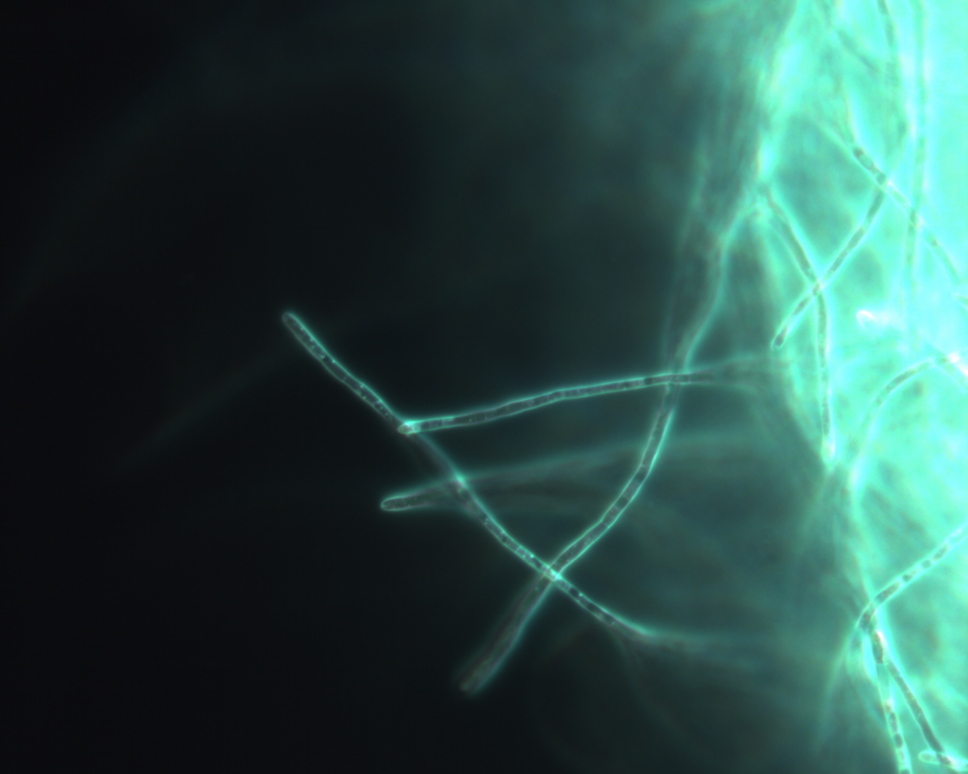
Beer Update: It's alive! The first few days the beer was perfectly still with no sign of life (the yeast were reproducing), but now a week in you can see bubbles on the top and the airlock is bubbling away. This means the yeast is alive and happily converting sugars into alcohol and CO2.
This is a lager yeast so it will hang out more at the bottom of the container compared to ale yeasts. In a few weeks they will run out of food and settle to the bottom.
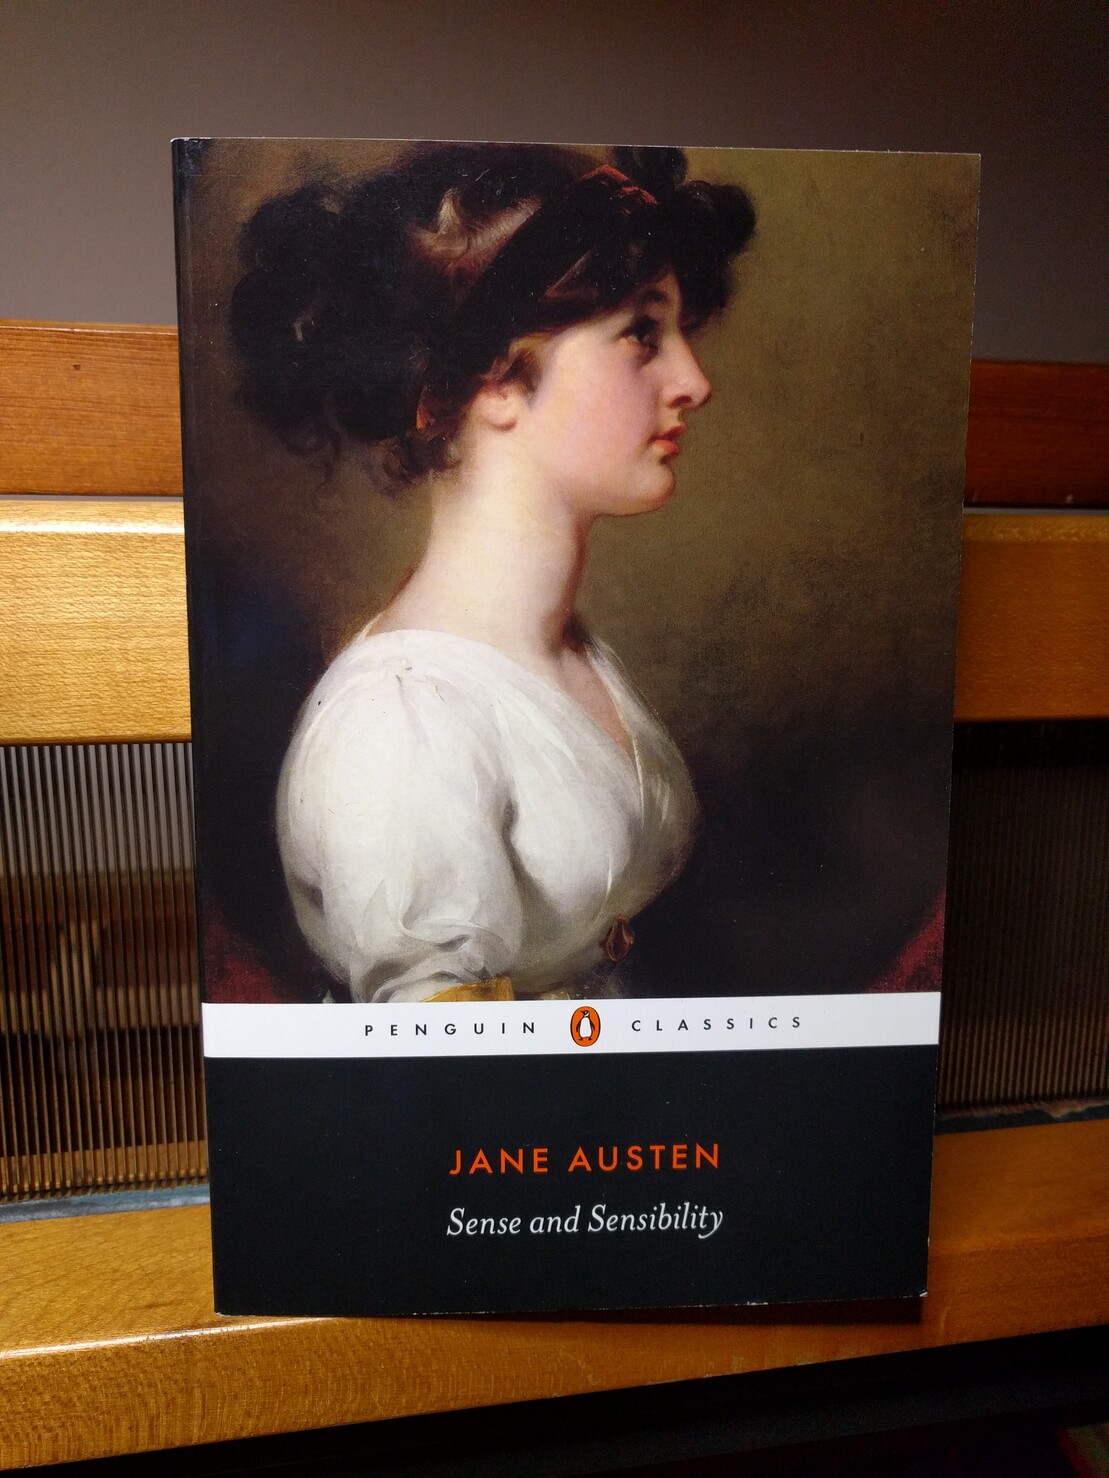
I thought it would be nice to begin the year with a little Sense and Sensibility. I haven't read this novel yet, but I really enjoyed Pride and Prejudice when I read it about two years back so I have great expectations.
With the last bit of wort pumped into the carboy, I pitch my yeast, add an airlock to the top, fill it with vodka, and the brewing process is done. I will move the carboy to a temperature-controlled chamber where it will ferment for a few weeks, then lager for a few more weeks, before I transfer it to a keg.
As the wort pumps into the carboy, I redirect a bit into a cylinder so I can take a gravity measurement (in this case I was right on target: 1.050!). This measures the specific gravity of the liquid compared to plain water and approximates the amount of sugar you have in your wort. Later when the beer is done fermenting I will take another reading and use the difference to determine how much sugar was converted into alcohol.
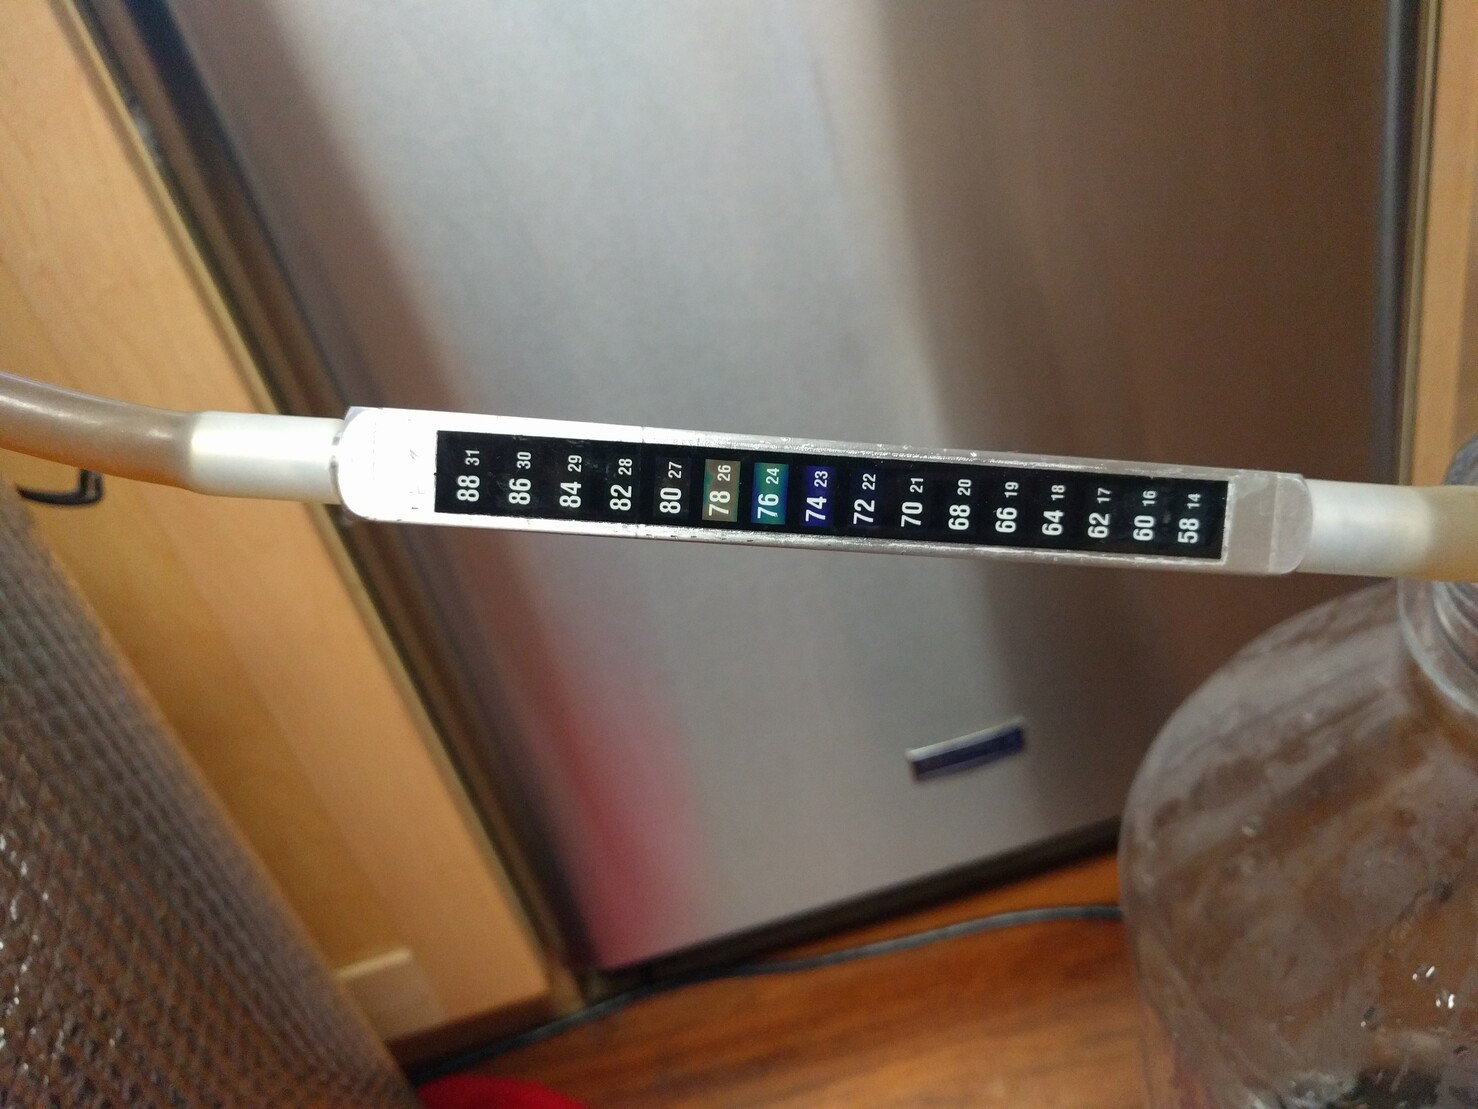
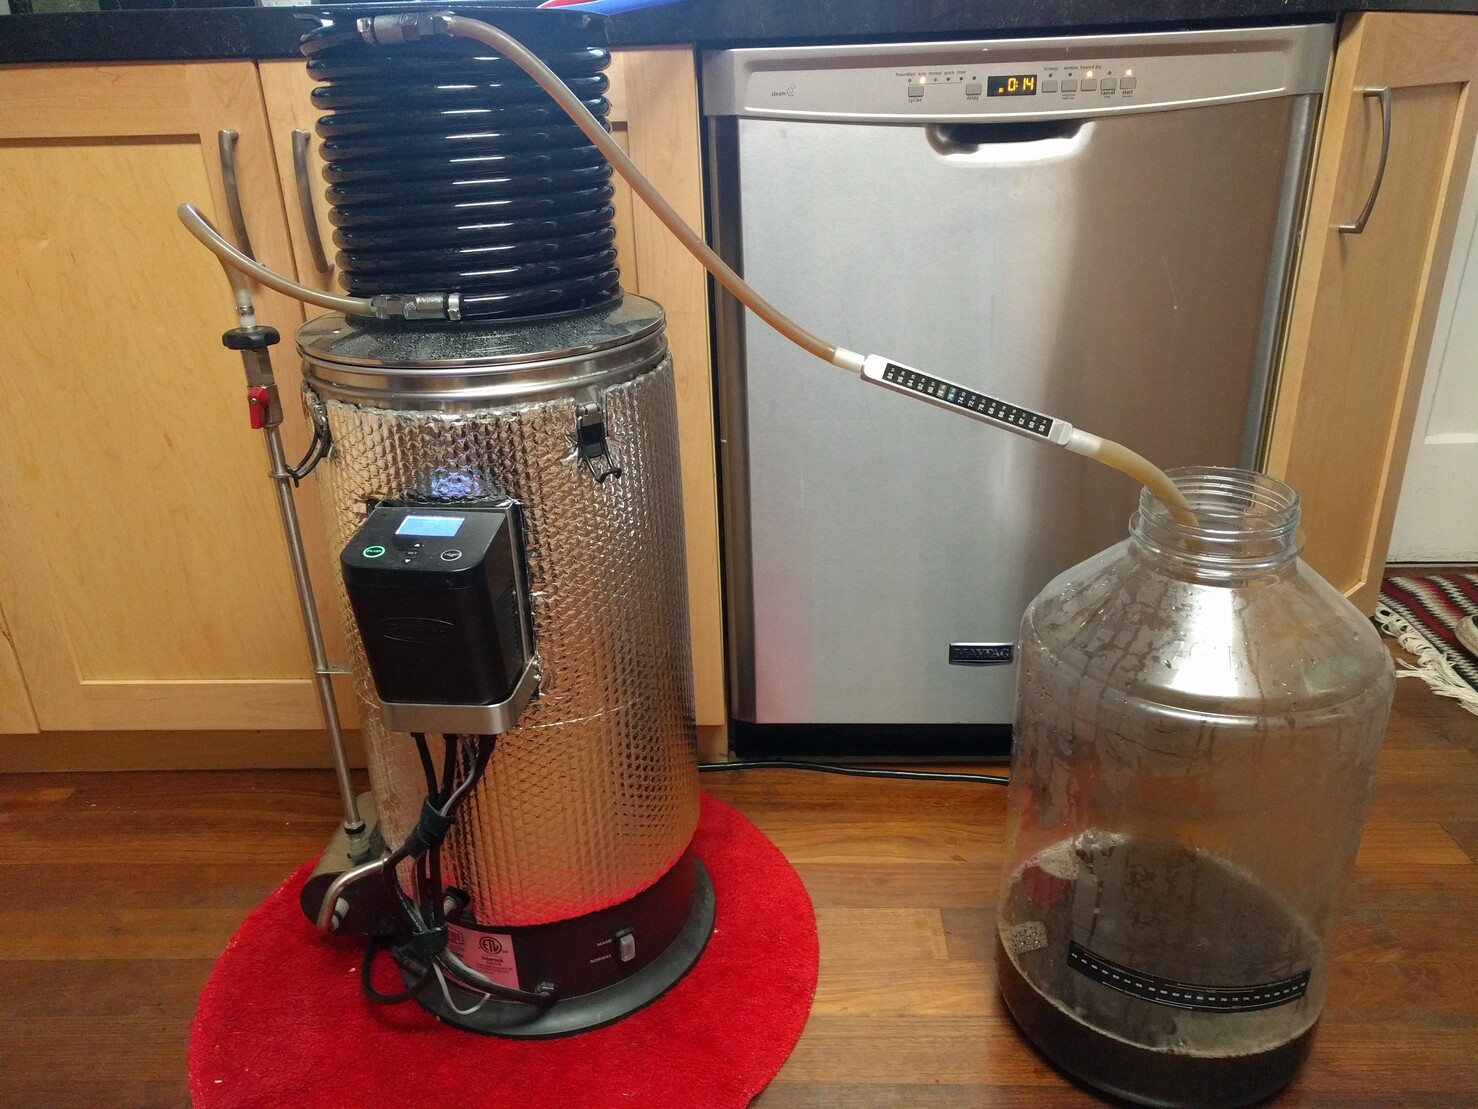
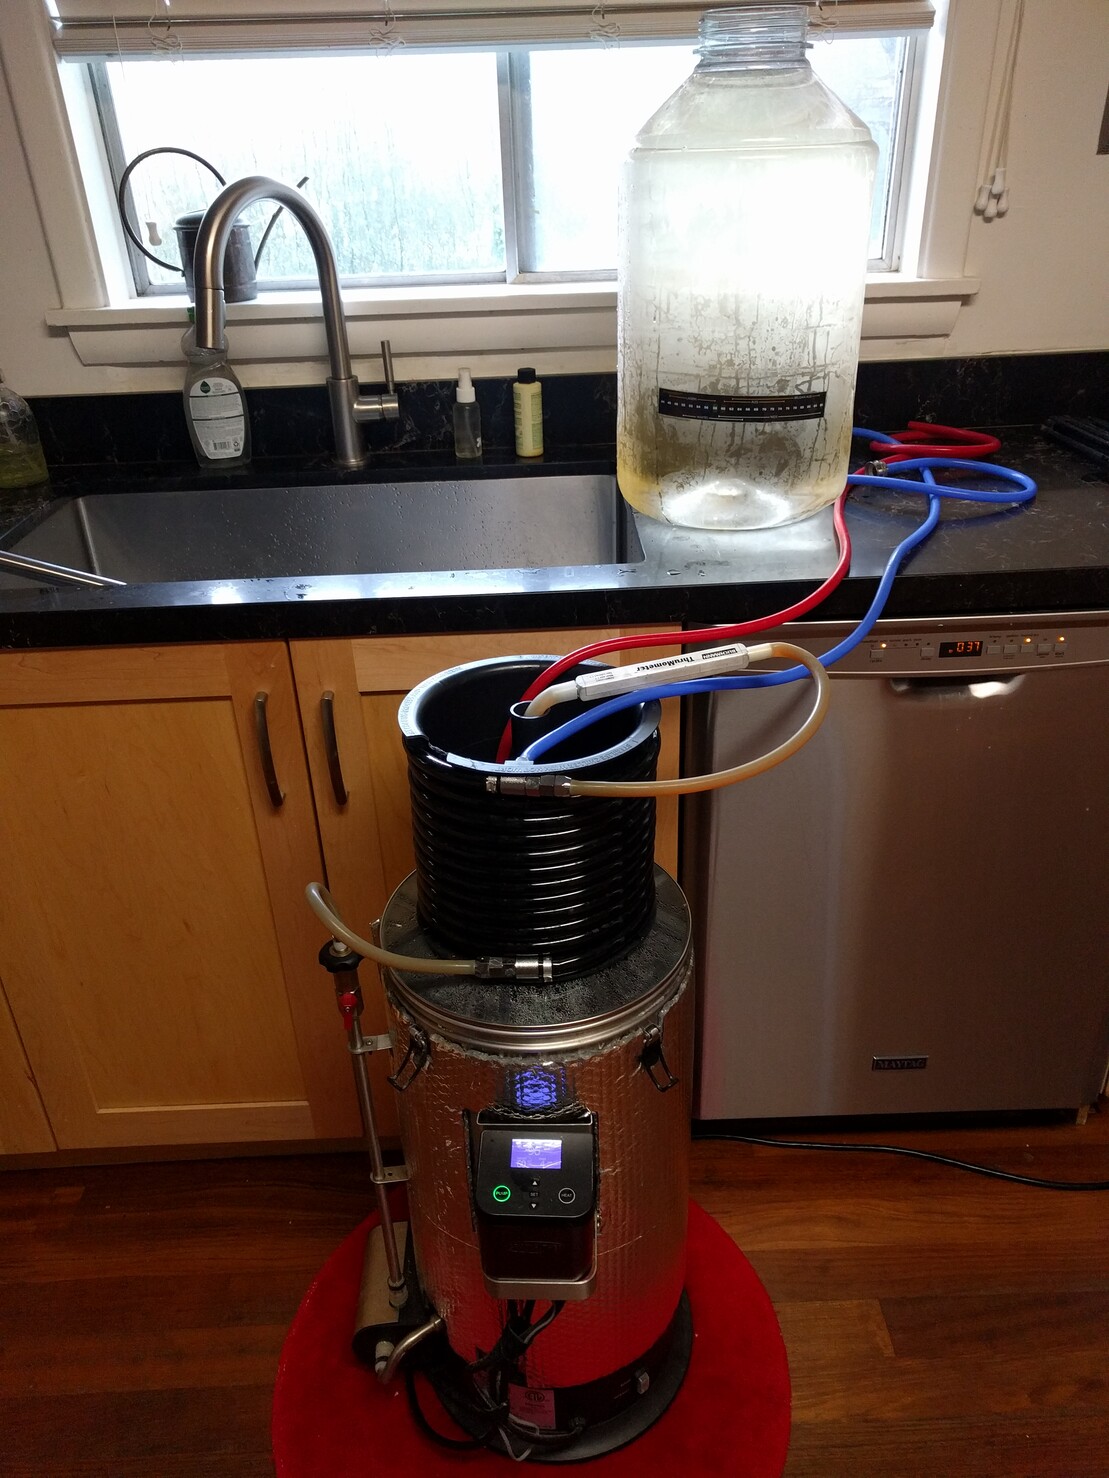
With enough cool water flowing through the system, the counterflow chiller can chill the wort enough to go into the fermentation vessel (plastic carboy) within a few minutes. I have an in-line thermometer I use to monitor the temperature of the wort leaving the counterflow chiller and when it's within the right range I stop the pump, move the wort output to my carboy, and start the pump again, pumping the cool wort into the carboy.
The boil is done so I've attached my counterflow chiller to my Grainfather pump and I'm recirculating boiling wort through it for 10 minutes to sanitize the inside of it before I connect it to cool water to actually chill the wort. I also filled my fermentation vessel with sanitizing solution for 10 minutes so it will be disinfected when I'm ready to transfer wort to it.
Now for the first (and for this recipe only) hop addition with 60 minutes left in the boil. These are whole leaf Cascade hops that we harvested from our hop plant in our garden this summer.
Adding hops at this stage of the boil extracts compounds that make the beer taste more bitter. These compounds are also anti-microbial and help protect the beer from infection post-boil, especially in the sensitive stage before the yeast make any alcohol.
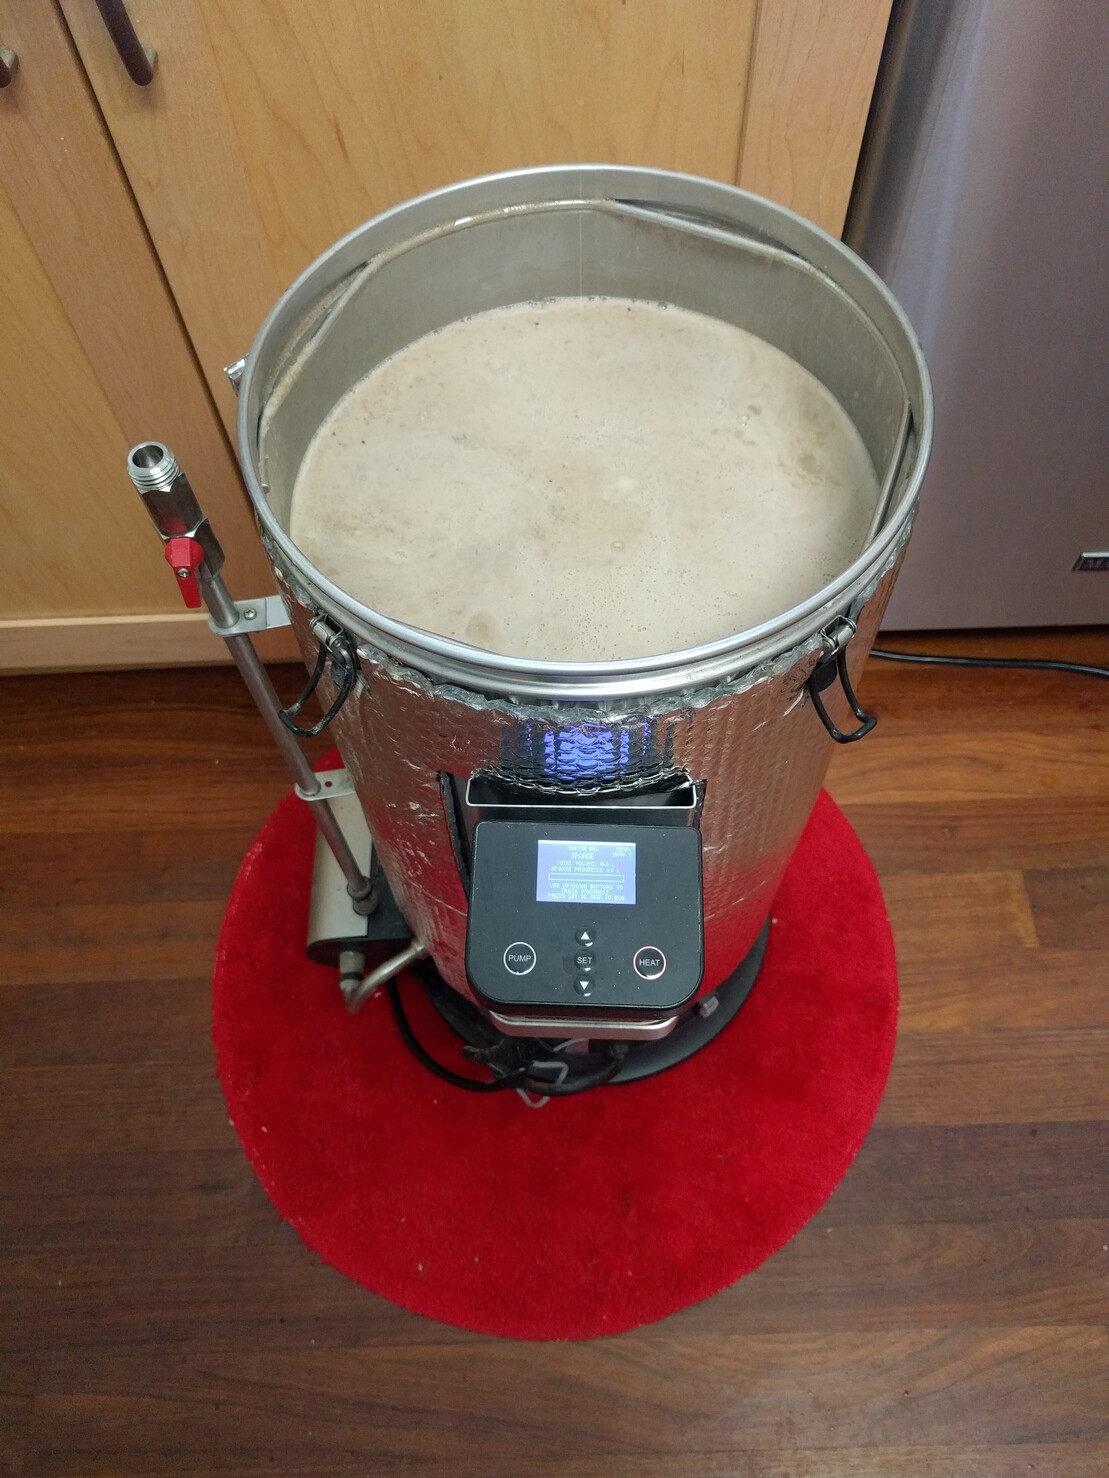
We are about 30 minutes into a 90 minute boil. If you look closely at this picture you can see light tan bits that aren't foam, that seem to be floating to the top. This is known as "hot break" and are proteins that are cooking out of the wort during the boil. This is something we want to happen and is one of the reasons for the boil.
The lautering/sparging process is complete so I removed the top grain basket and now we are waiting for the wort to reach a boil. What do we do while we wait? We clean of course! I dumped the spent grain into the compost bin and cleaned the grain basket and lauter kettle and all mashing and lautering equipment. In a minute I will start stirring the foam at the top of the kettle back into the wort so it doesn't boil over when it hits boiling temps.
After mashing, I lift the interior metal basket and rest it at the top of the Grainfather. There is a mesh at the bottom of this basket which allows the sticky, sweet brown liquid called wort to drain into the kettle while leaving the grain behind.
While the kettle heats up to boiling, I start rinsing the top of the grain with hot water from my lauter tun. This water trickles through the grain bed and extracts more sugars as it drips down into the kettle.
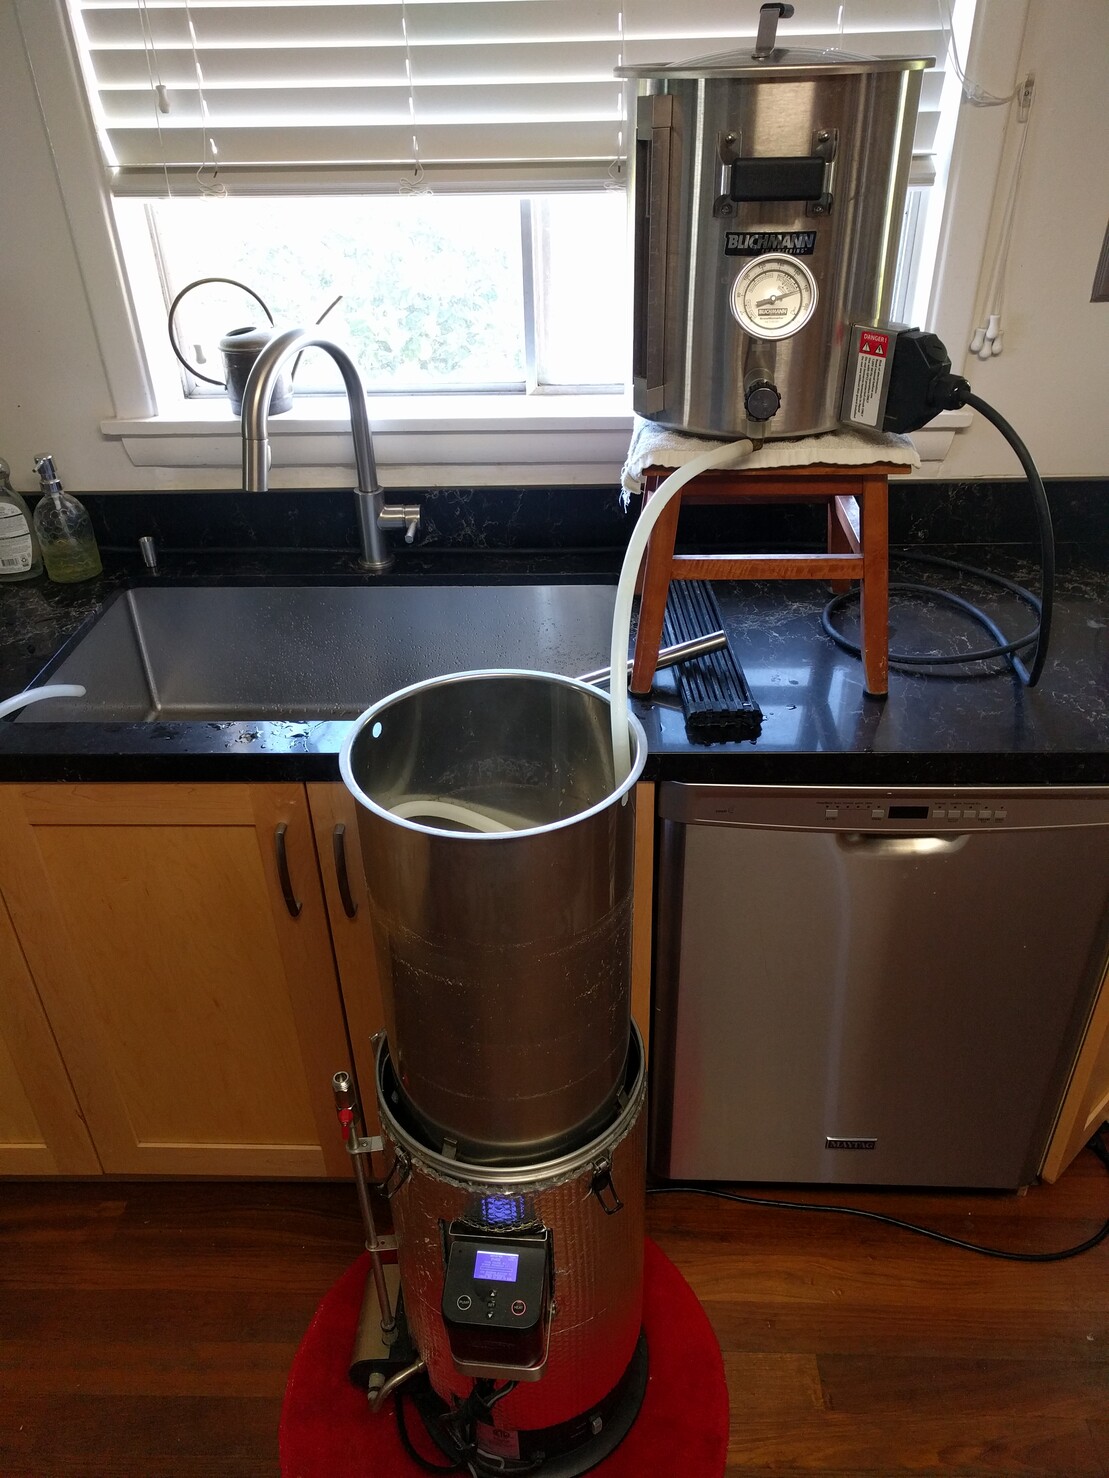
After mashing, the next step is the lautering process, where I remove the grain from the mash water and rinse it with hot water to extract more remaining sugars.
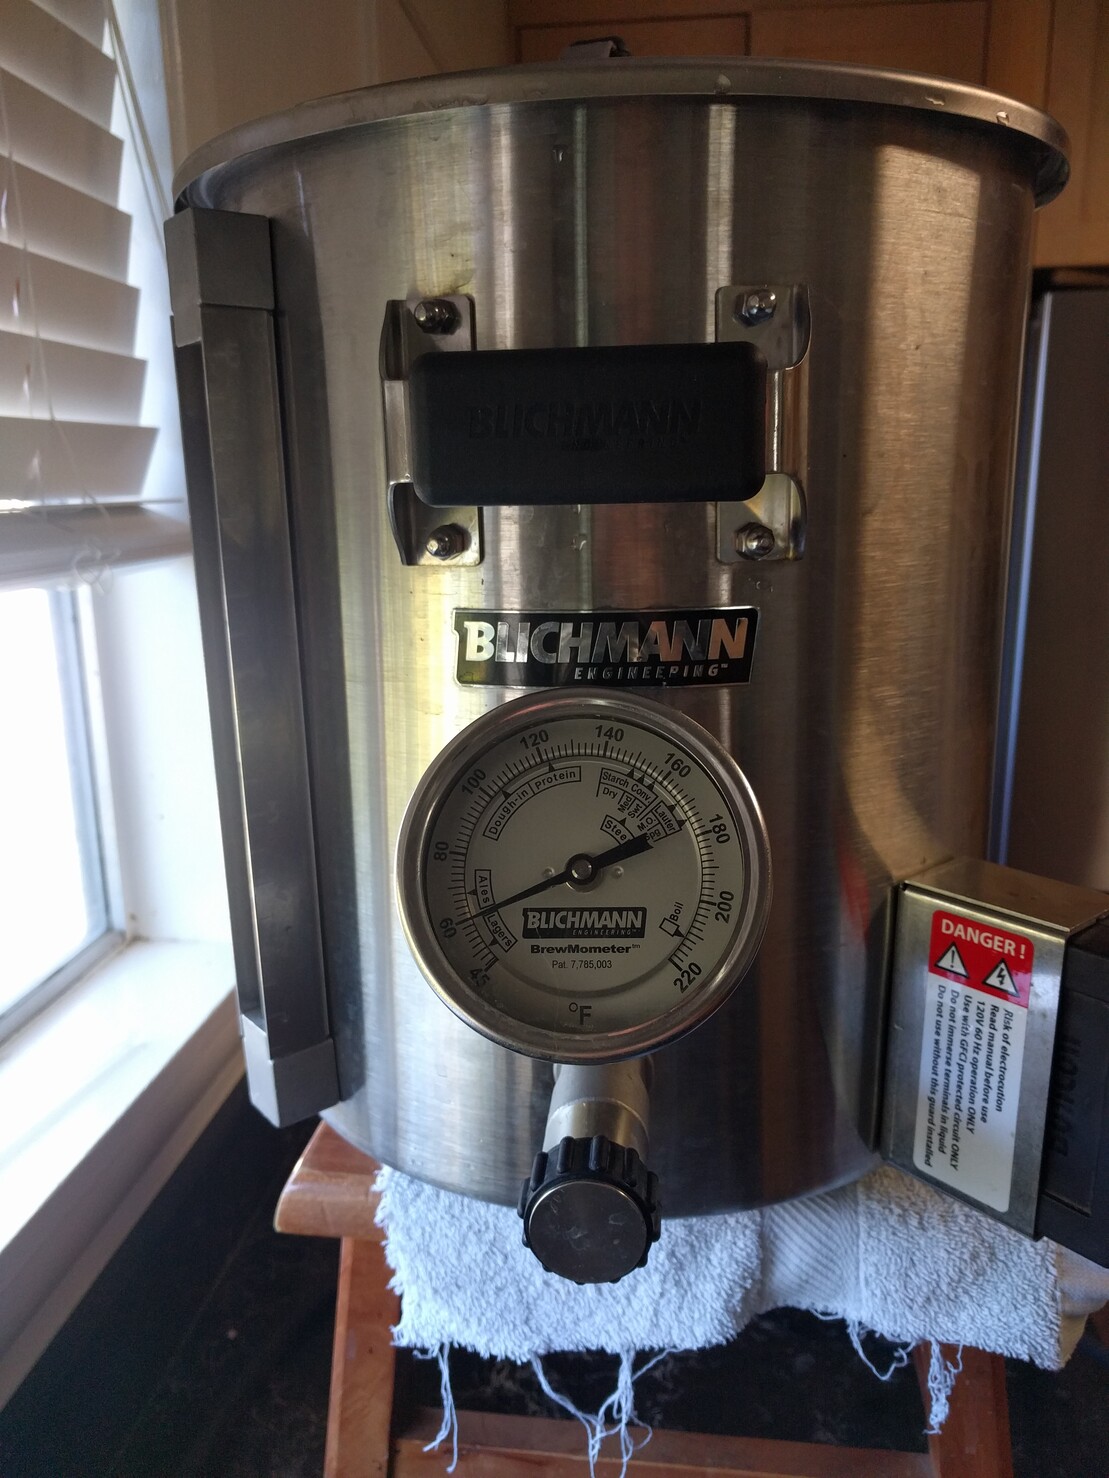
This is my lauter tun. It's an electric brewing kettle that I used to brew beer with before I got my Grainfather. I fill this kettle with the appropriate amount of water, heat it to the proper temp, and then connect a hose to a spout at the bottom and use gravity to move the water to my Grainfather.
Once all the grain is added I add a mesh screen above the water level in the kettle, attach a recirculation arm to my Grainfather's pump and tell it to start the 90 min mashing process. It recirculates water throughout the process to improve efficiency and clarity in the beer.
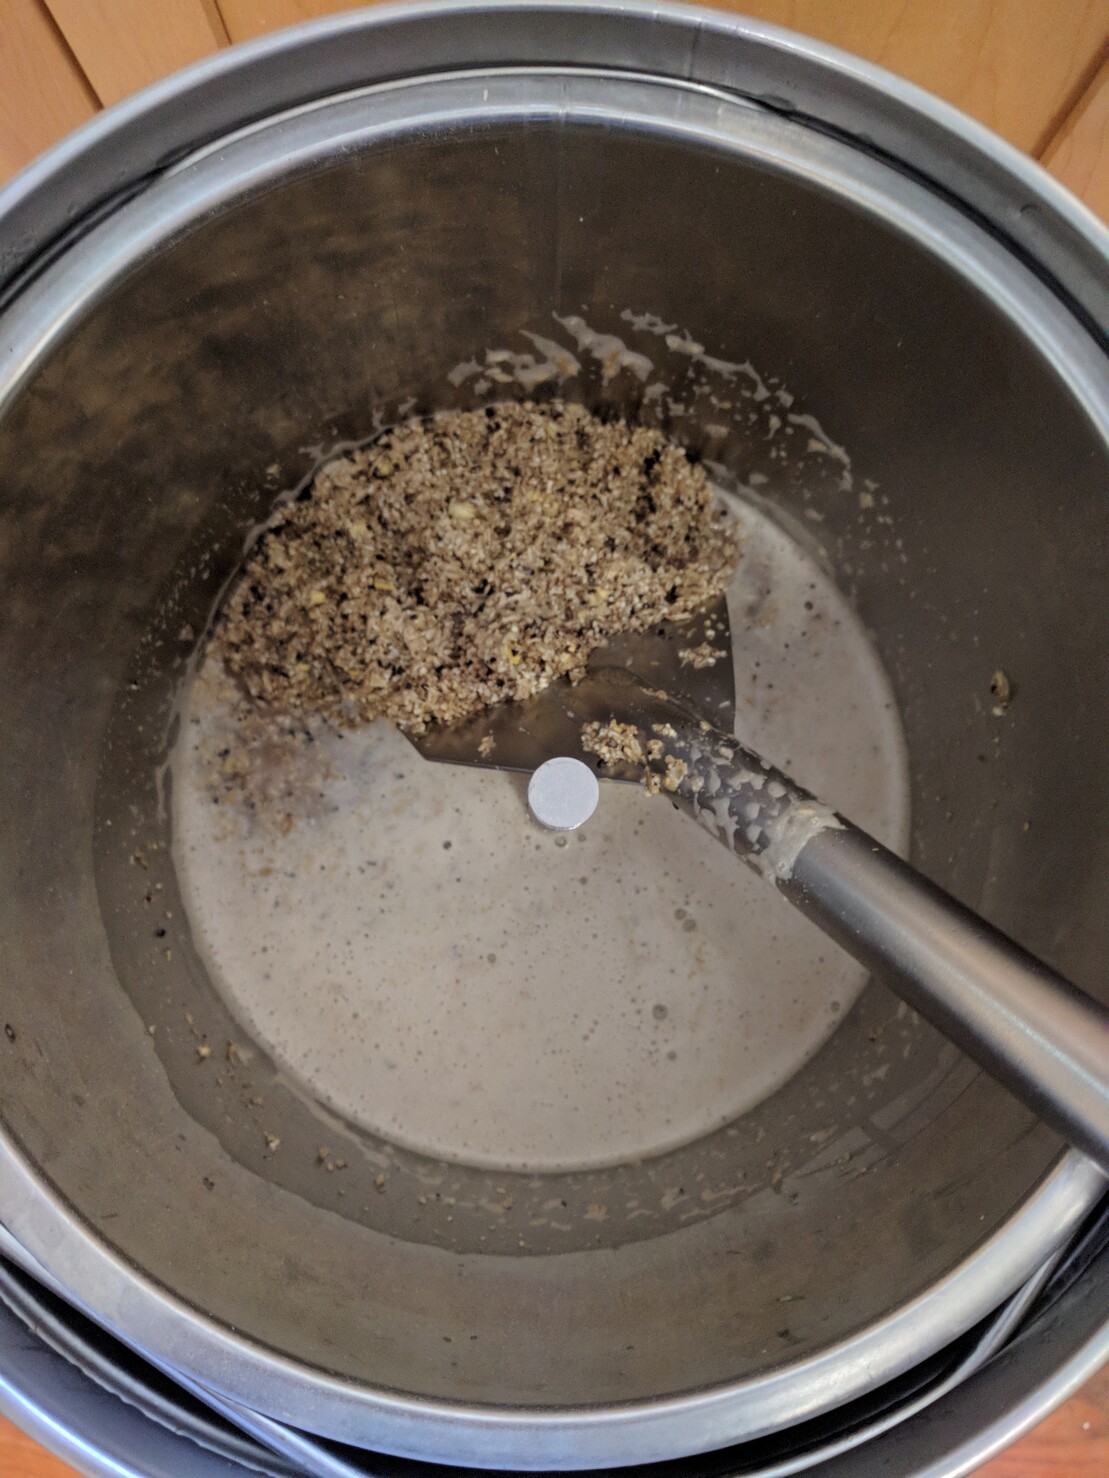
After the water heats up I can "dough in" or add my ground grain to the mash water. I have a long metal mashing paddle that makes it easier to stir the grain as I add it to remove clumps, which helps improve mashing efficiency later. Basically you are making a barley porridge and the consistency at the end is pretty similar to oatmeal.
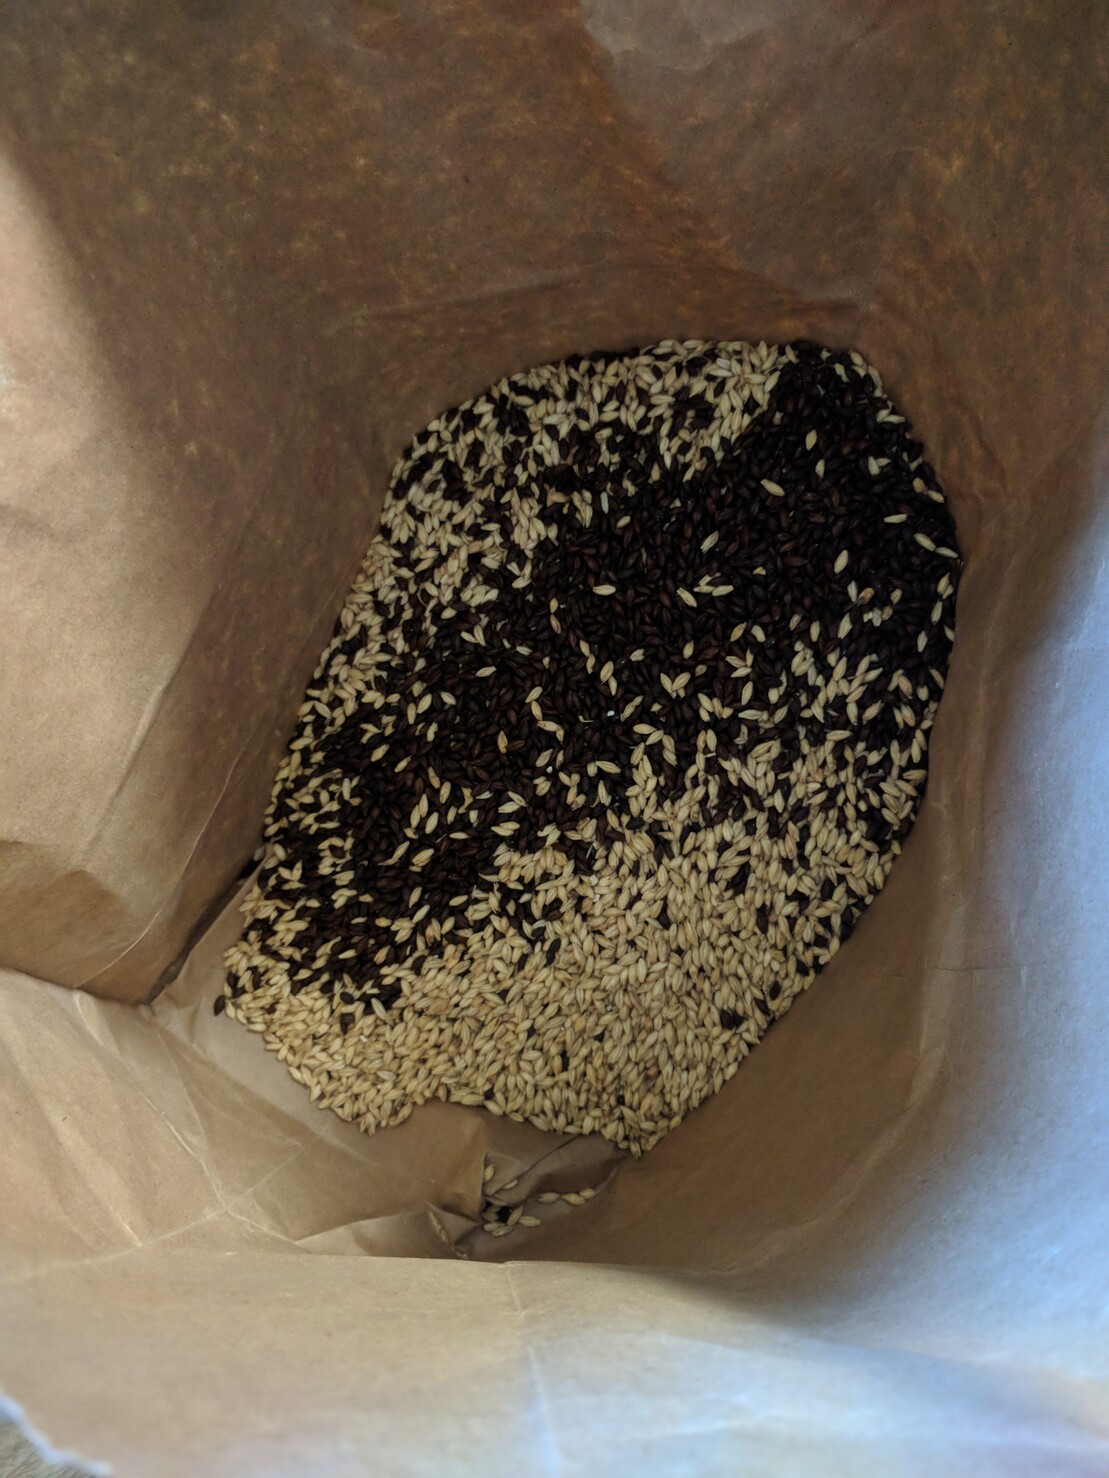
While the mash water heats up, I grind my grain using a hand grinder. For some recipes I get my malted barley pre-ground, but I have started buying my base malt in bulk, and the barley comes whole.
Grinding the grain removes the kernel from the husk and exposes more of the starch to the water so the mashing process is much more efficient. Malted barley contains an enzyme that will convert starches in the barley to sugar when immersed in water. #brewing #happybrewyear #beer
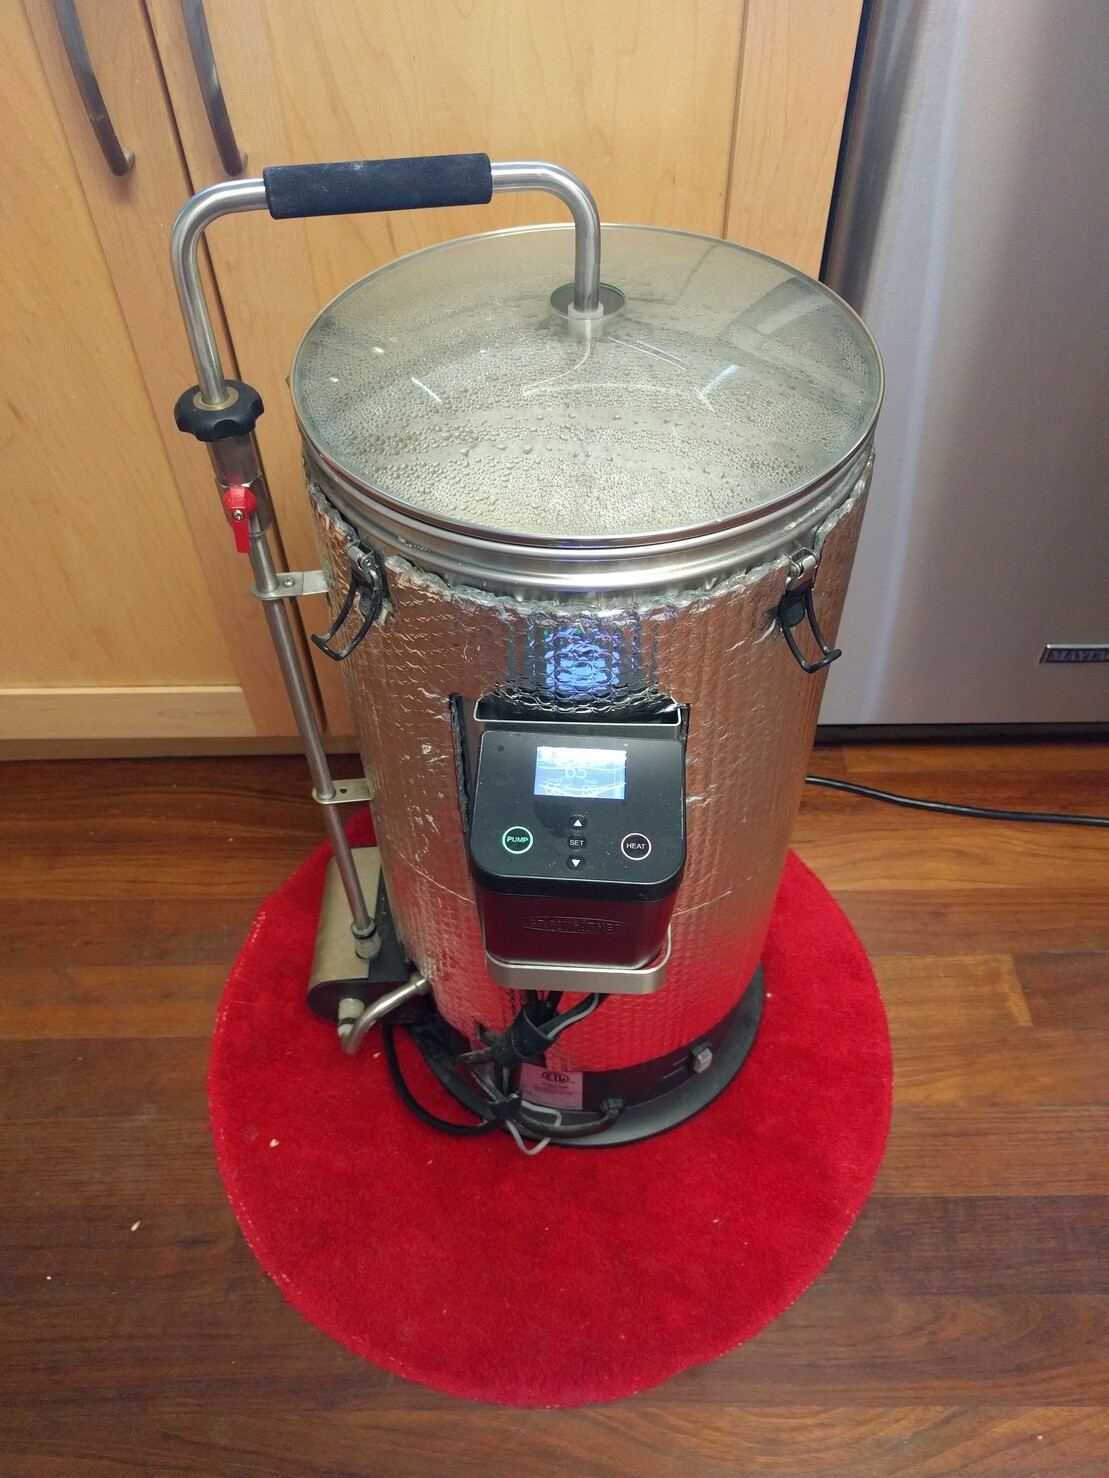
Happy Brew Year! Today I'm going to brew a simple Mexican-style dark Lager which traditionally were based on a Vienna dark lager but with US ingredients including flaked corn. In this thread I will document my brew day.
The first step is to heat up my mash water. I brew beer using a Grainfather brewing system, which automates a lot of the process for me and shaves a few hours off of my brew day. #brewing #happybrewyear #beer
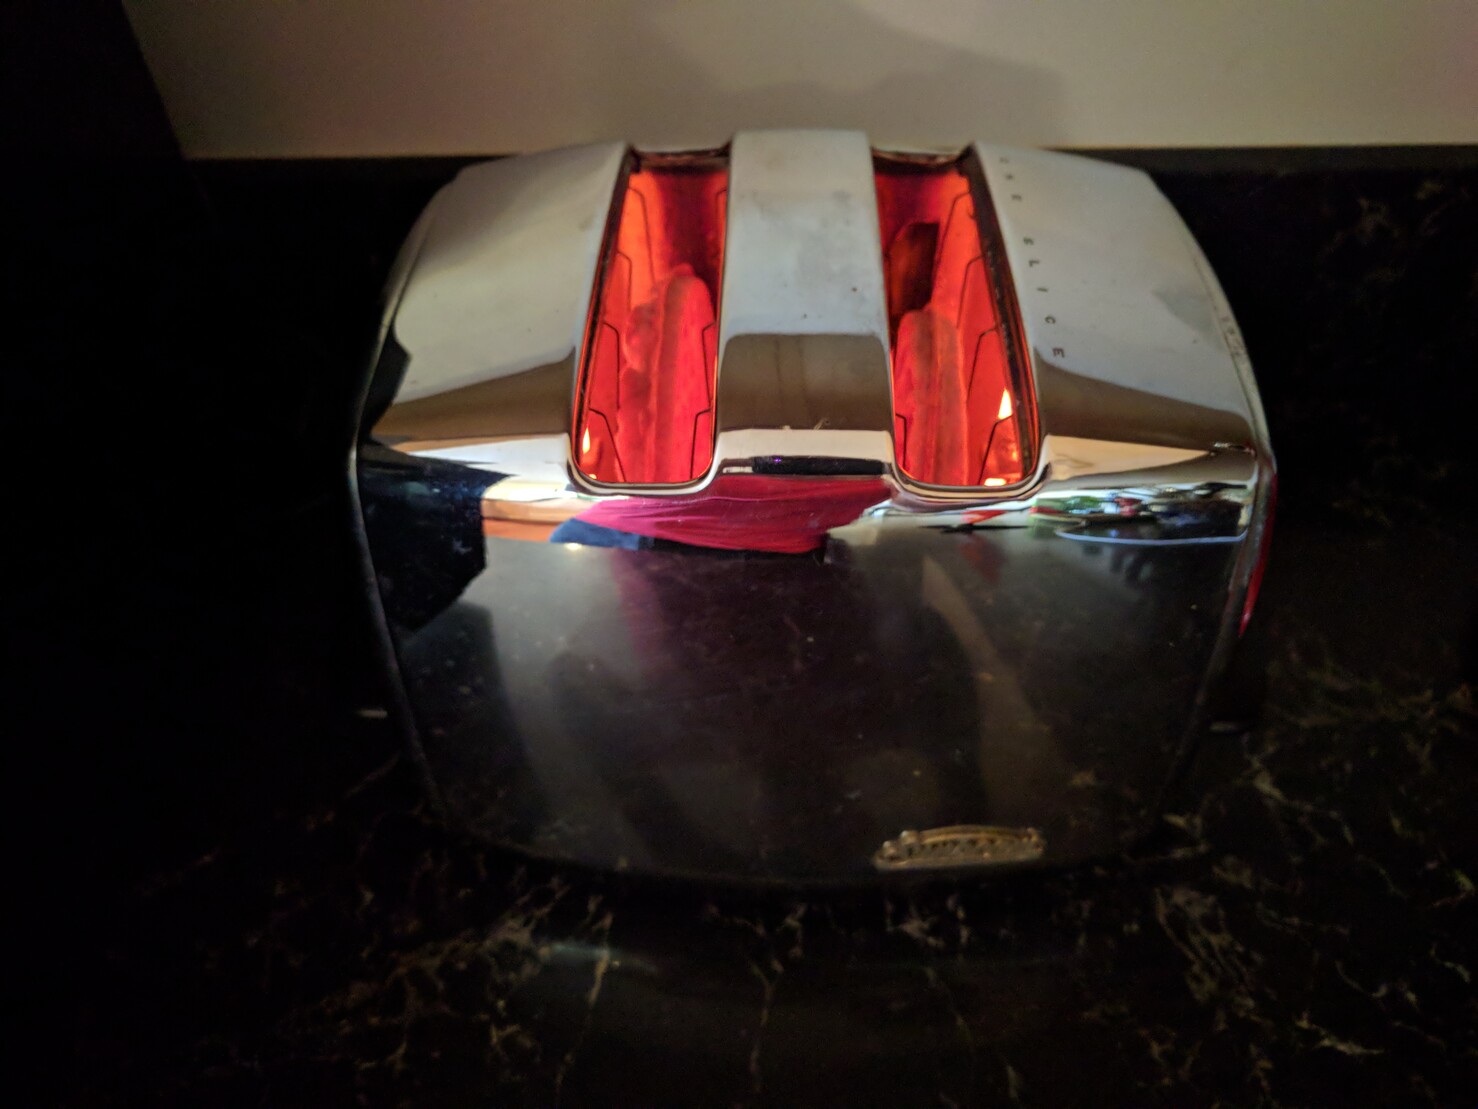
Oh yeah! Vintage toasting perfection! #vintage #toaster #ifyouknowyouknow
My son asked if I would teach him how to weave so yesterday he learned how to warp a rigid heddle loom and the basics of plain weaving. Now he is busy making his mother a scarf. I'm wishing I had a smaller rigid heddle loom, this 32" Kromski is not ideal for a kid. That said, his beat is pretty consistent and he's doing a decent job managing his selvedges so far. #weaving
My copy of Ada & Zangemann by @kirschner arrived in the mail today just in time for Christmas!
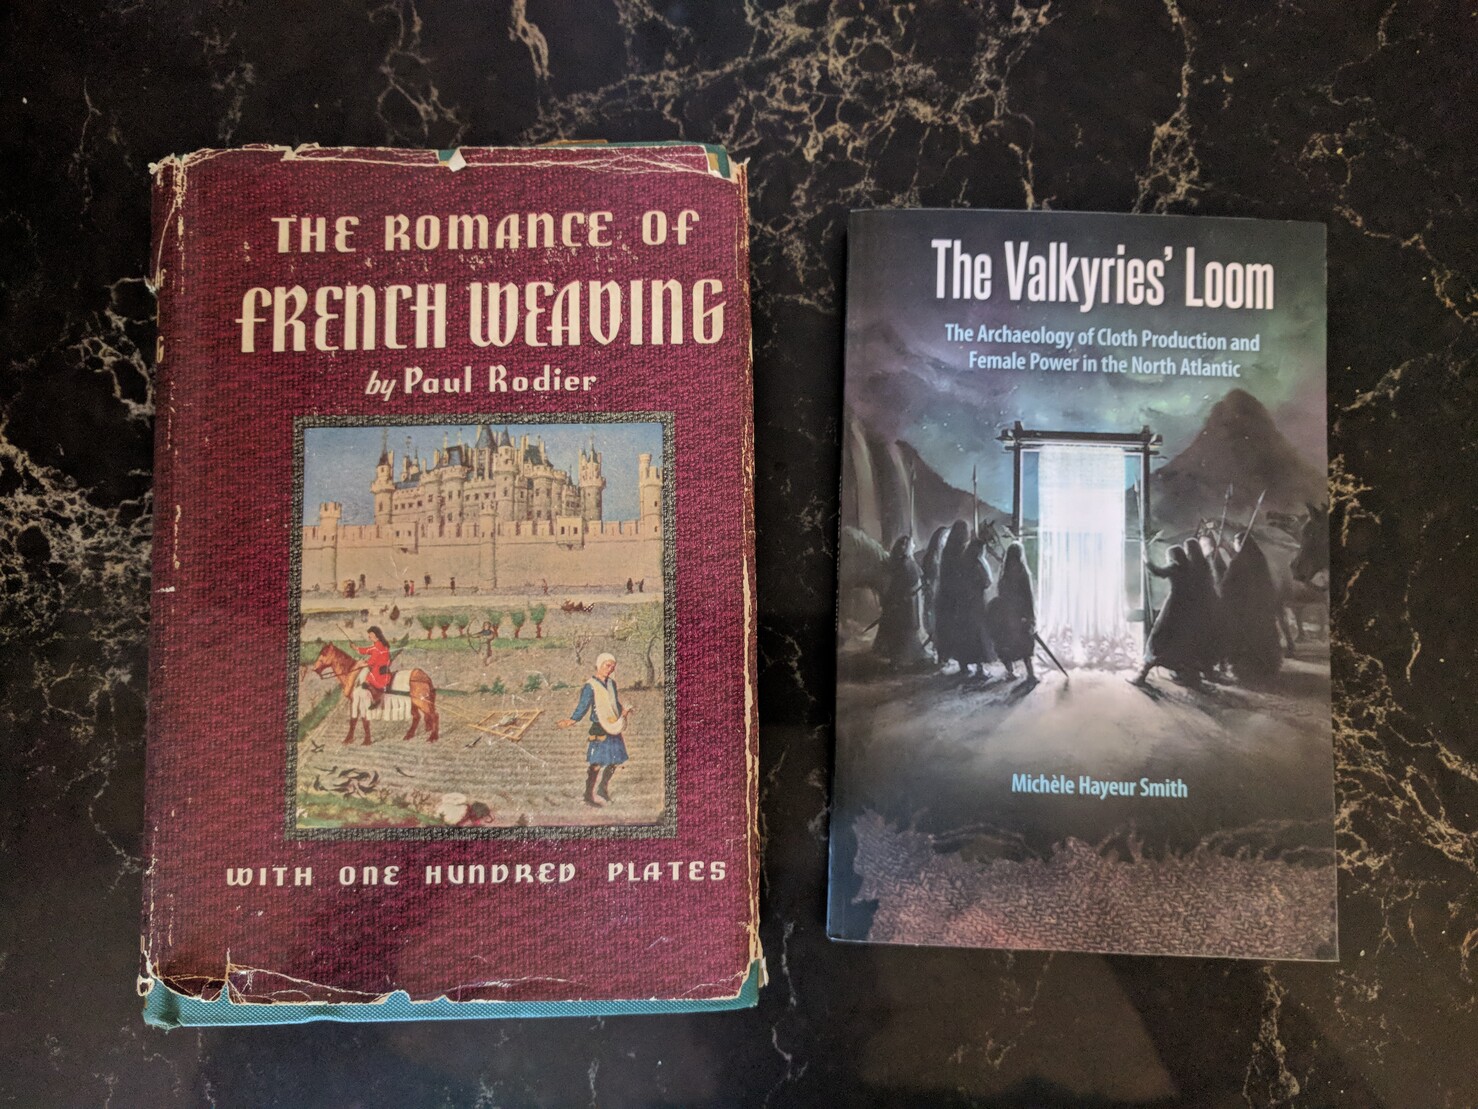
I just finished reading The Romance of French Weaving which covers the history of French textiles from the early Gauls to the early nineteenth century. I learned quite a bit about the origin and etymology of fiber terms in general from it.
Next on the list is The Valkyries' Loom, which covers Scandinavian weaving history of the Norse people.
I'm enjoying reading about the weaving histories of specific cultures. Are there any others that folks recommend? #weaving #history
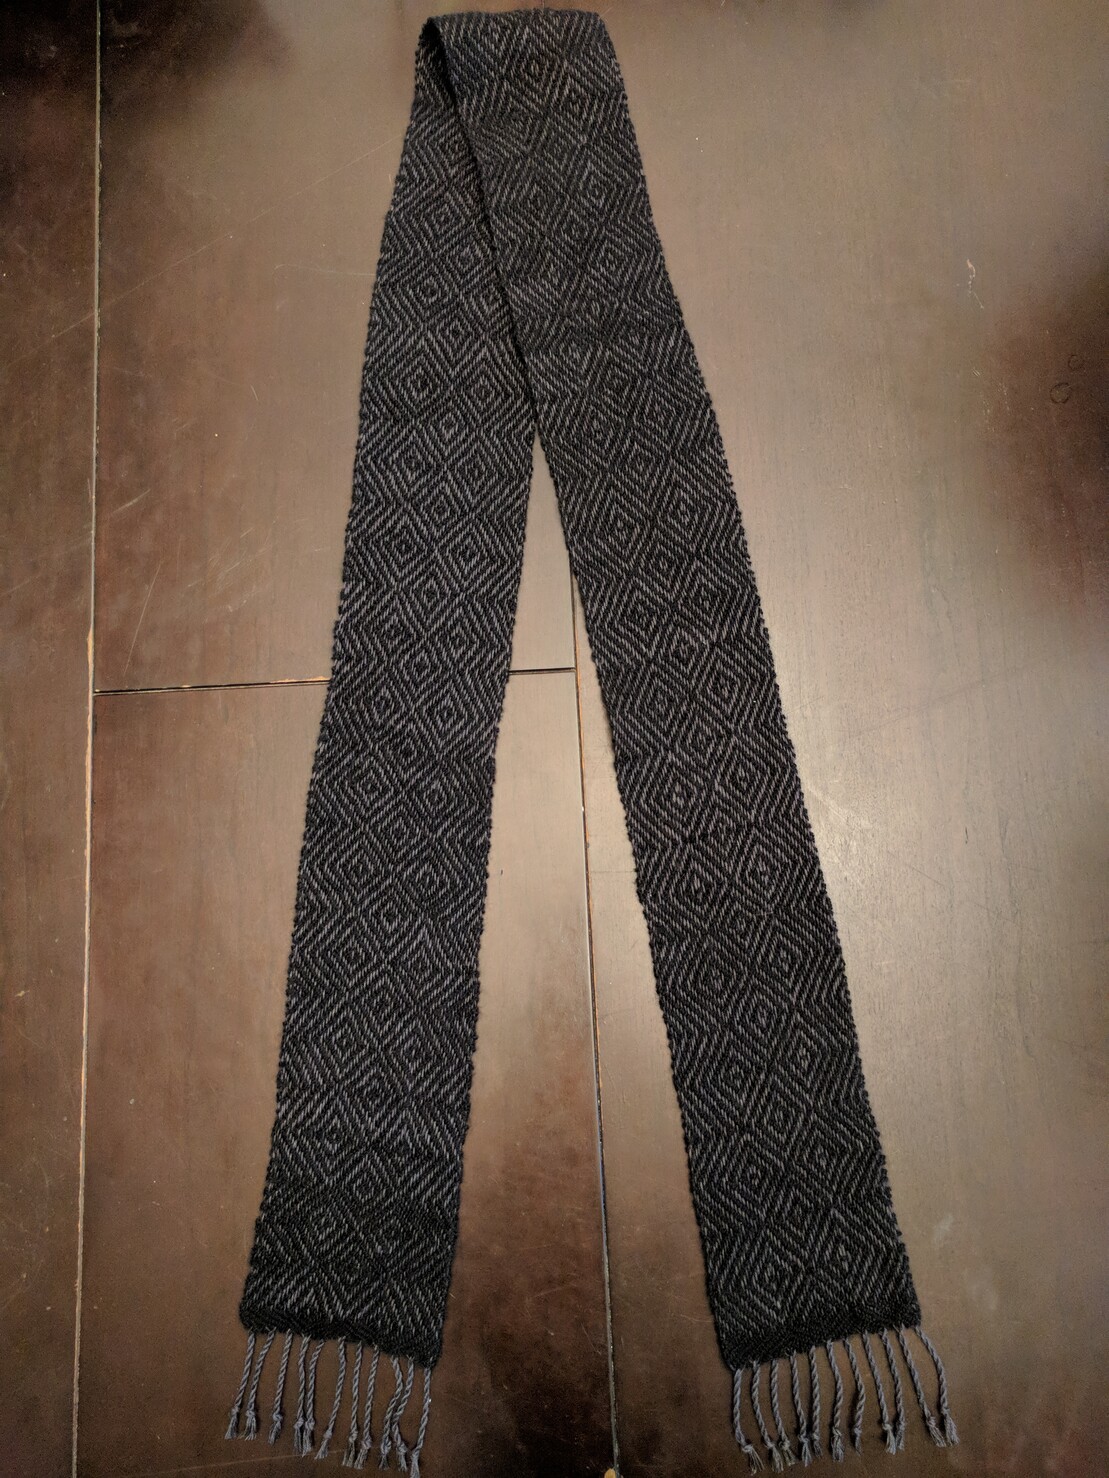
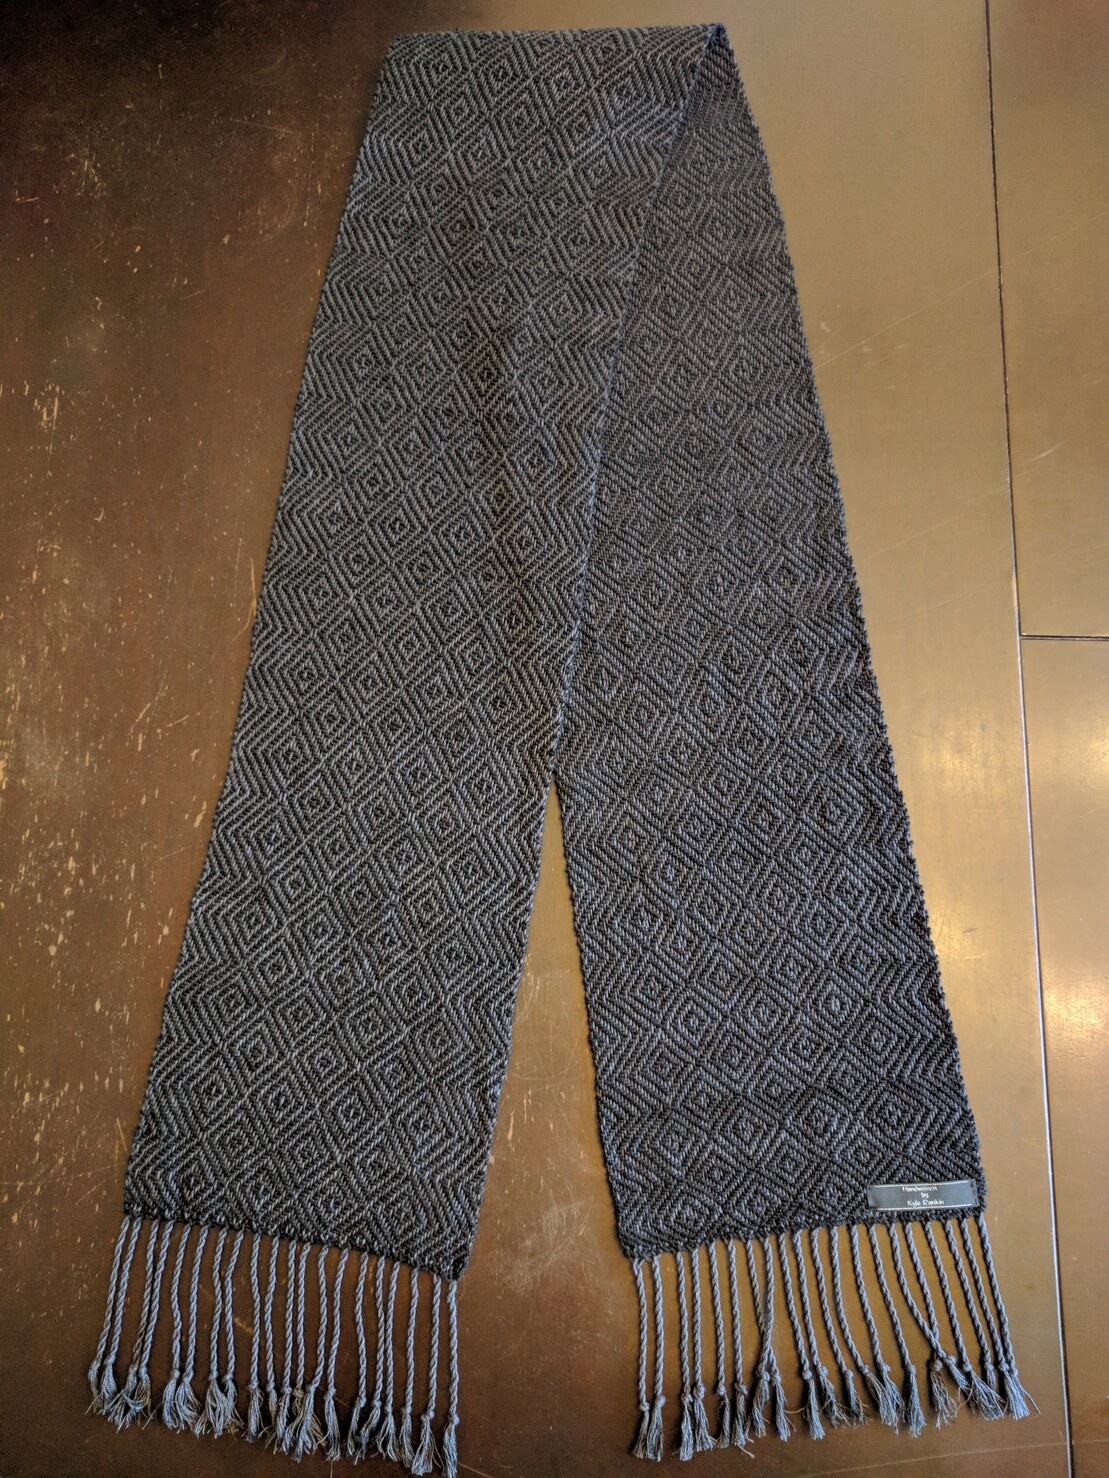
I finished my scarf! I had previously made a scarf as a gift that I liked so much that I decided to make a narrower men's version for myself. I've attached pictures of both for comparison.
This weave was pretty loose to get the pattern I wanted. As a result I had to be very careful with it off the loom, and also fix a few picks that were out of place.
I ended up washing this in hot water and agitating it quite a bit, because I wanted it to full and shrink a bit into its final form. #weaving
- Personal Site
- https://kylerank.in
- Personal Bibliography
- https://kylerank.in/writing.html
Admin
Technical author, FOSS advocate, public speaker, Linux security & infrastructure geek, author of The Best of Hack and /: Linux Admin Crash Course, Linux Hardening in Hostile Networks and many other books, ex-Linux Journal columnist.
Joined Apr 2019